Widgenta widget placement on WordPress
There are two accommodation options:
Widgenta widget placement on all WordPress site pages
After creating, customizing and saving the widget, you have the code available for posting on your site.
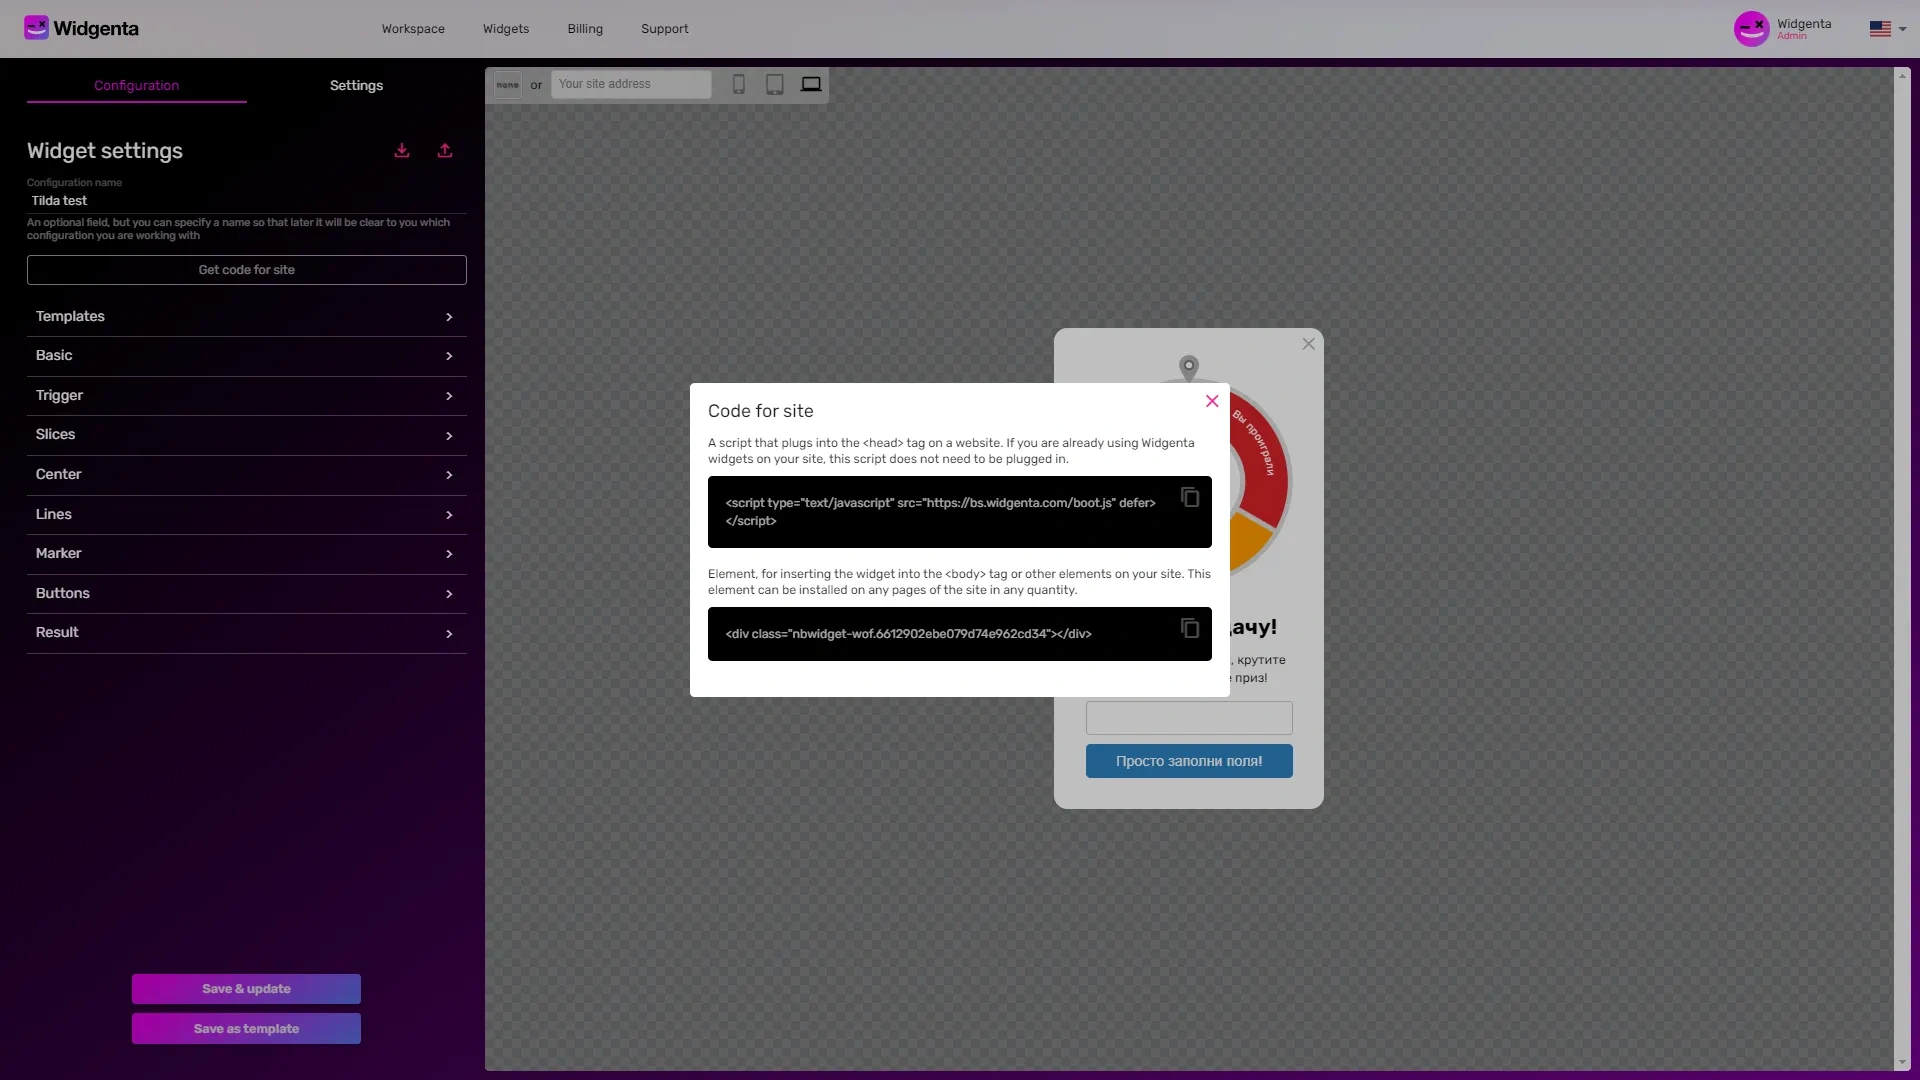
Copy the first code for <head> and go into the WordPress admin panel.
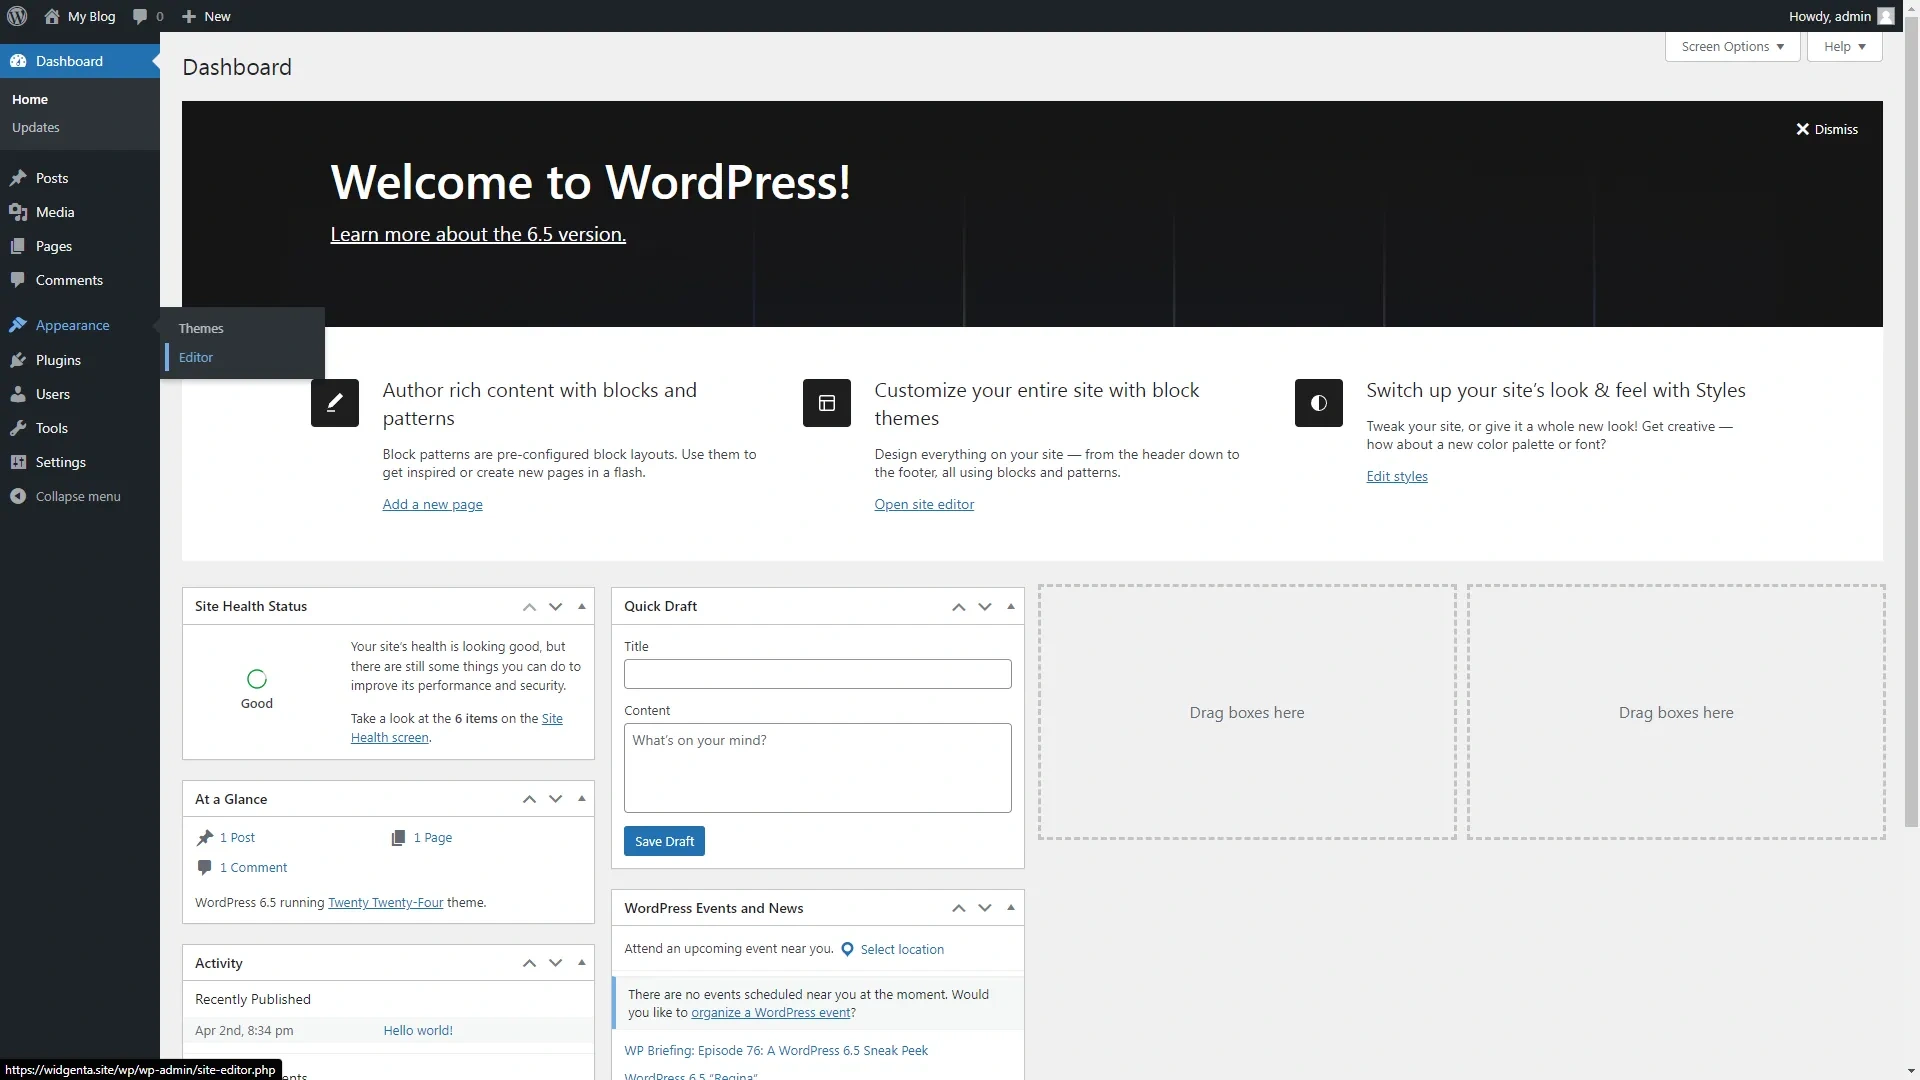
Select «Appearance» > «Editor».
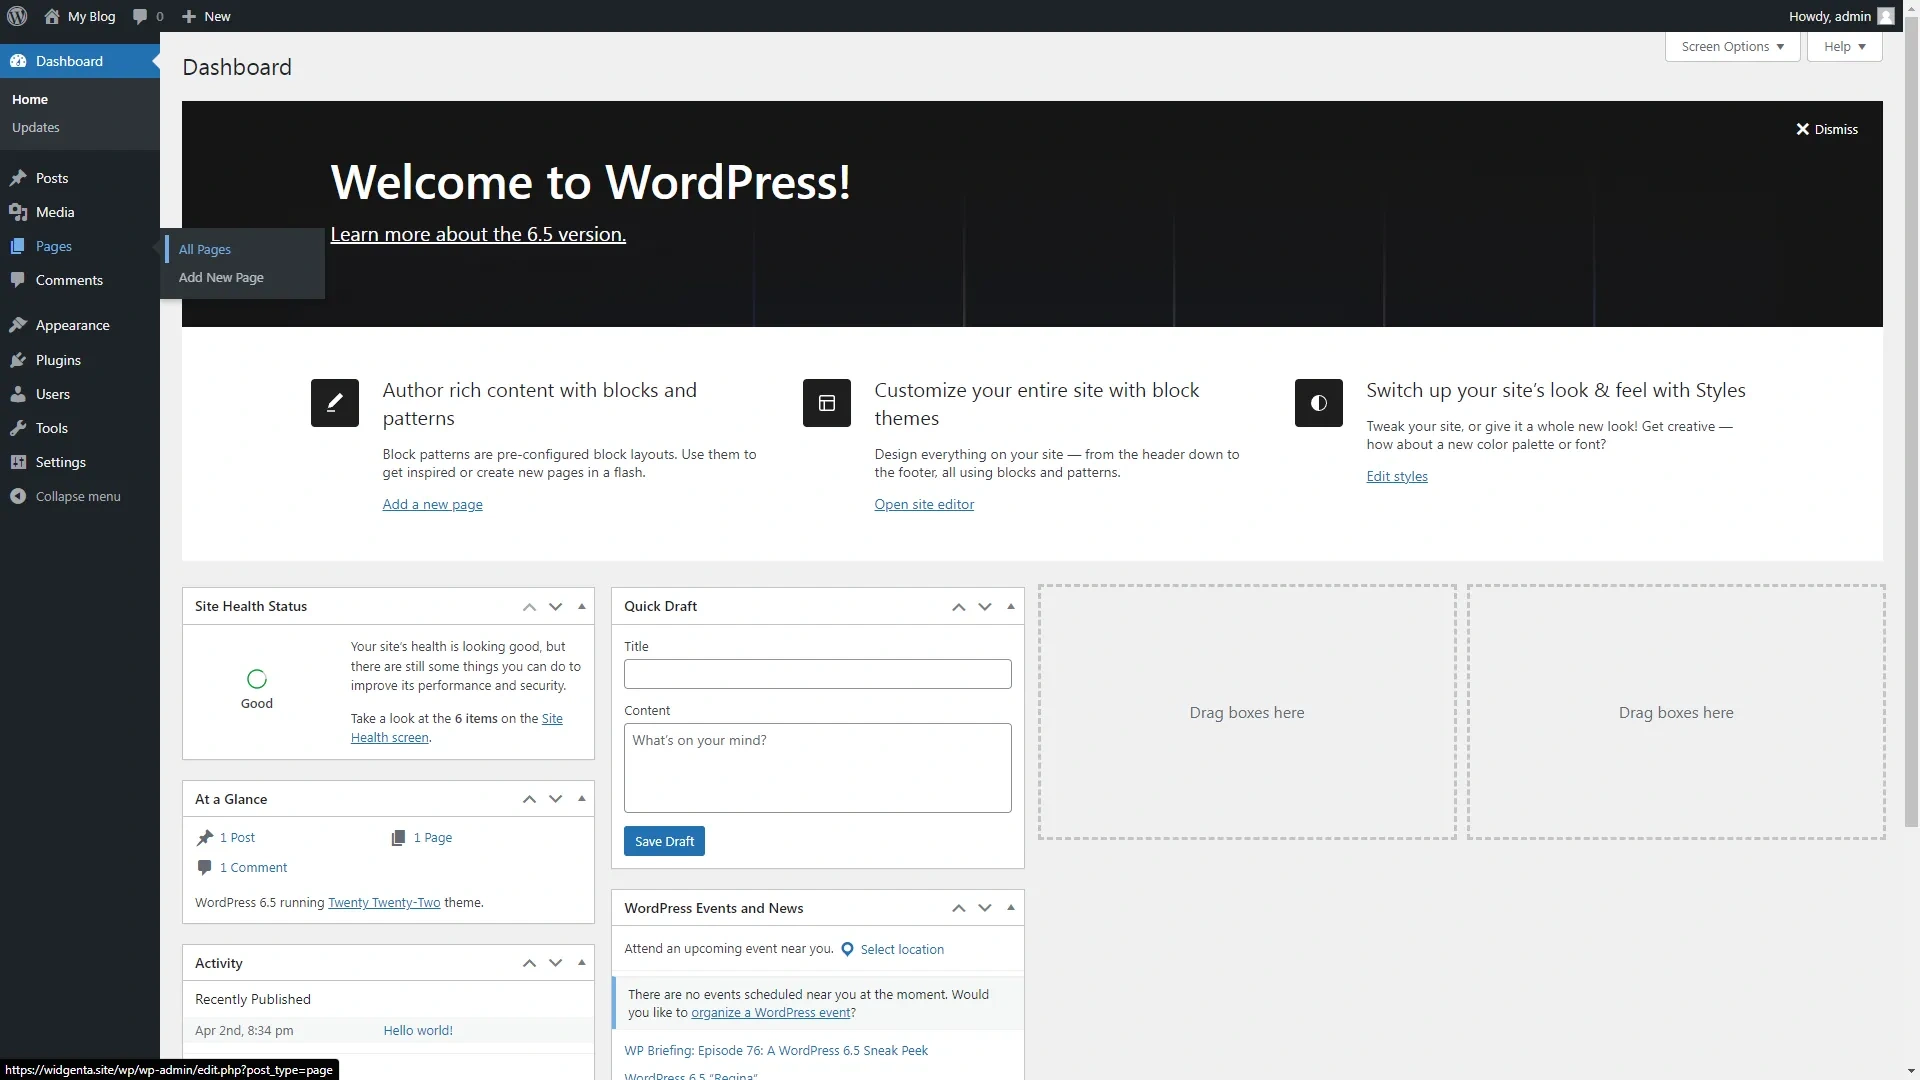
Go to the «Pages» section.
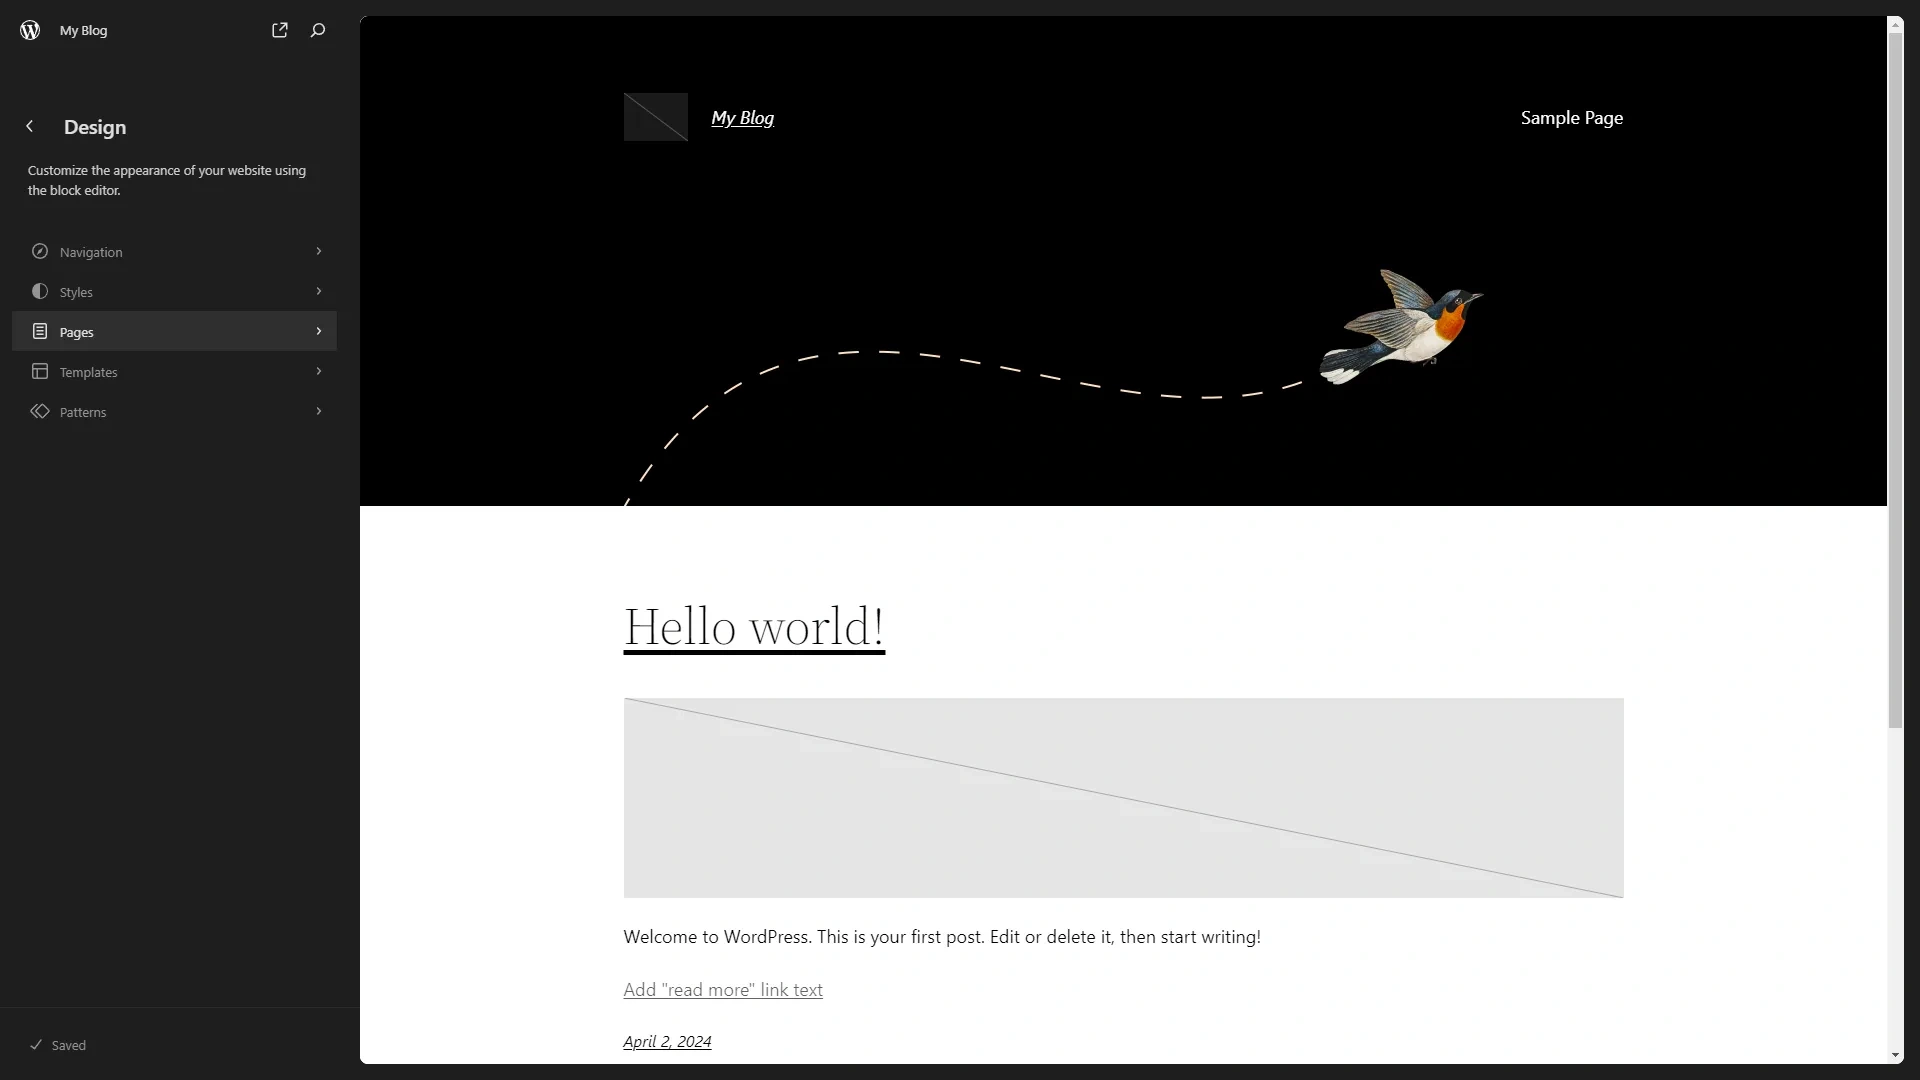
Next, select the «Blog home» option.
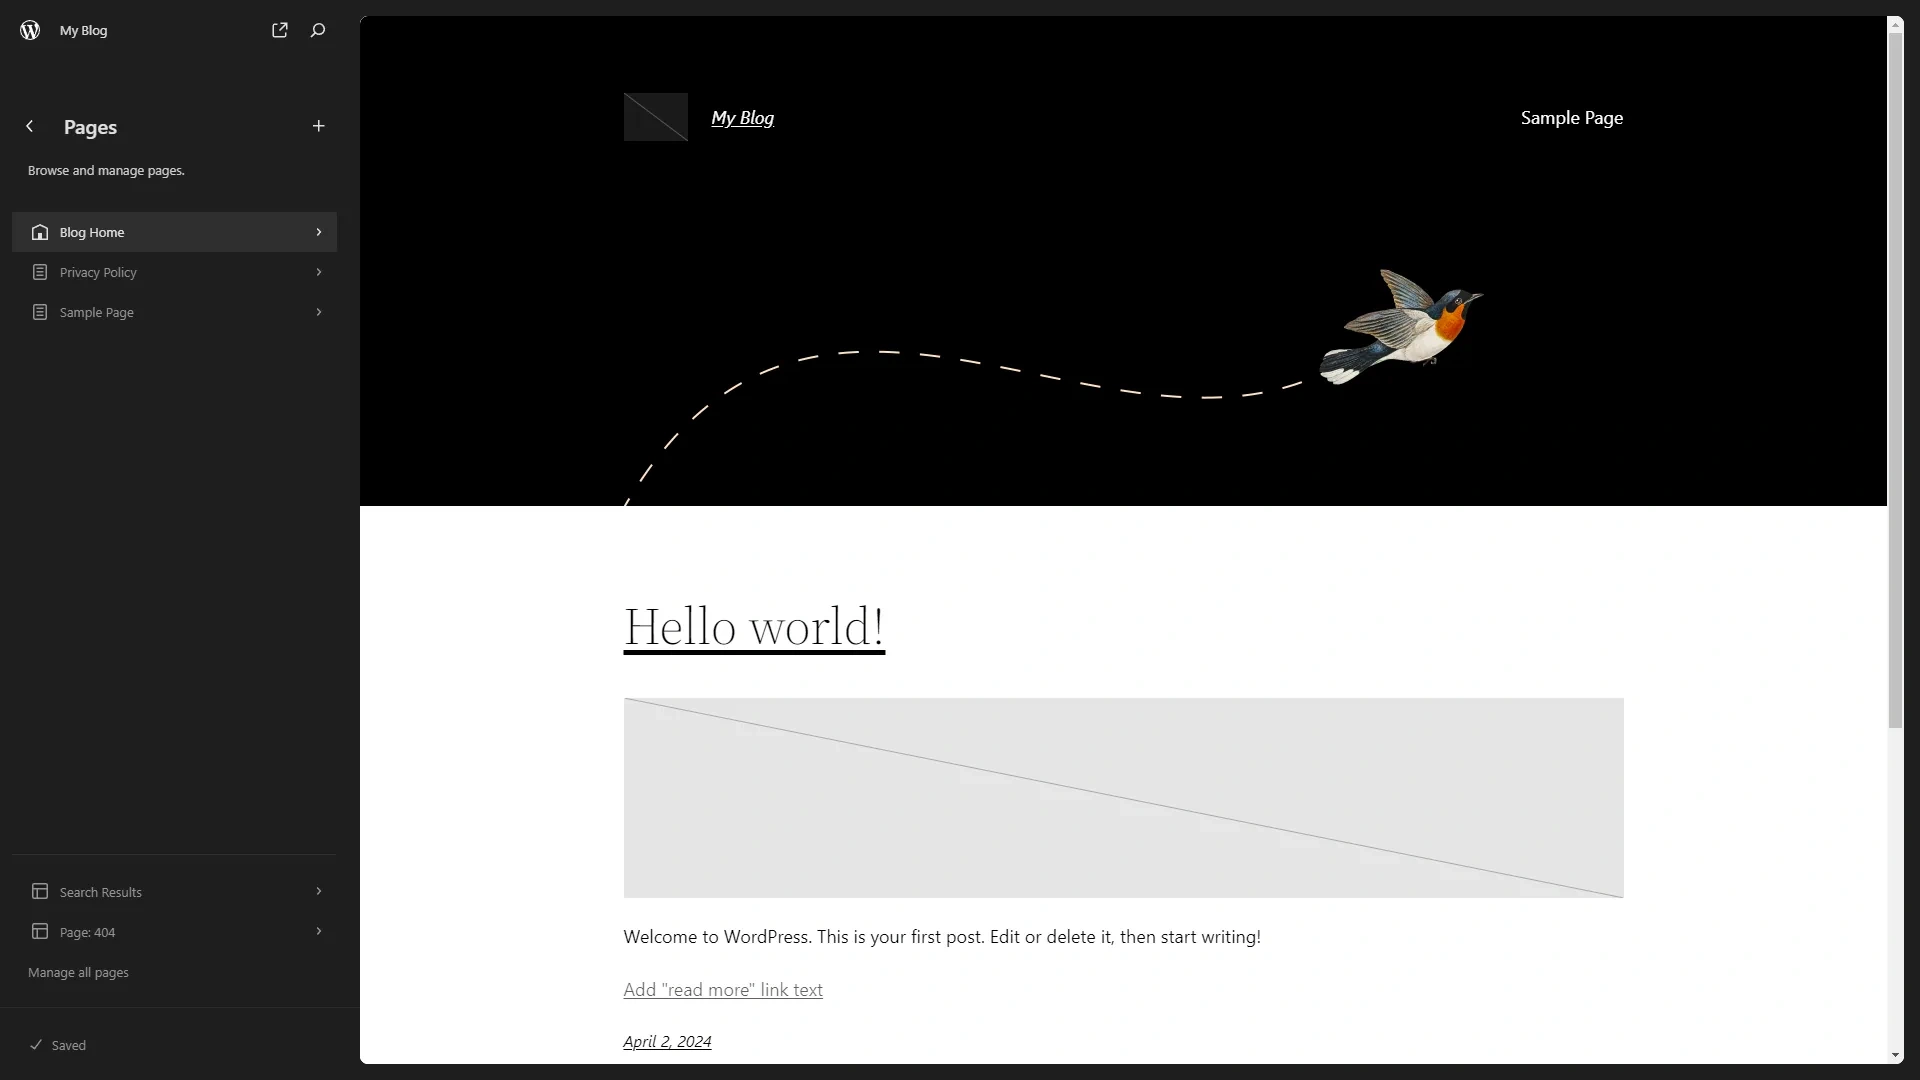
Click on the right side of the screen to go to the visual editor.

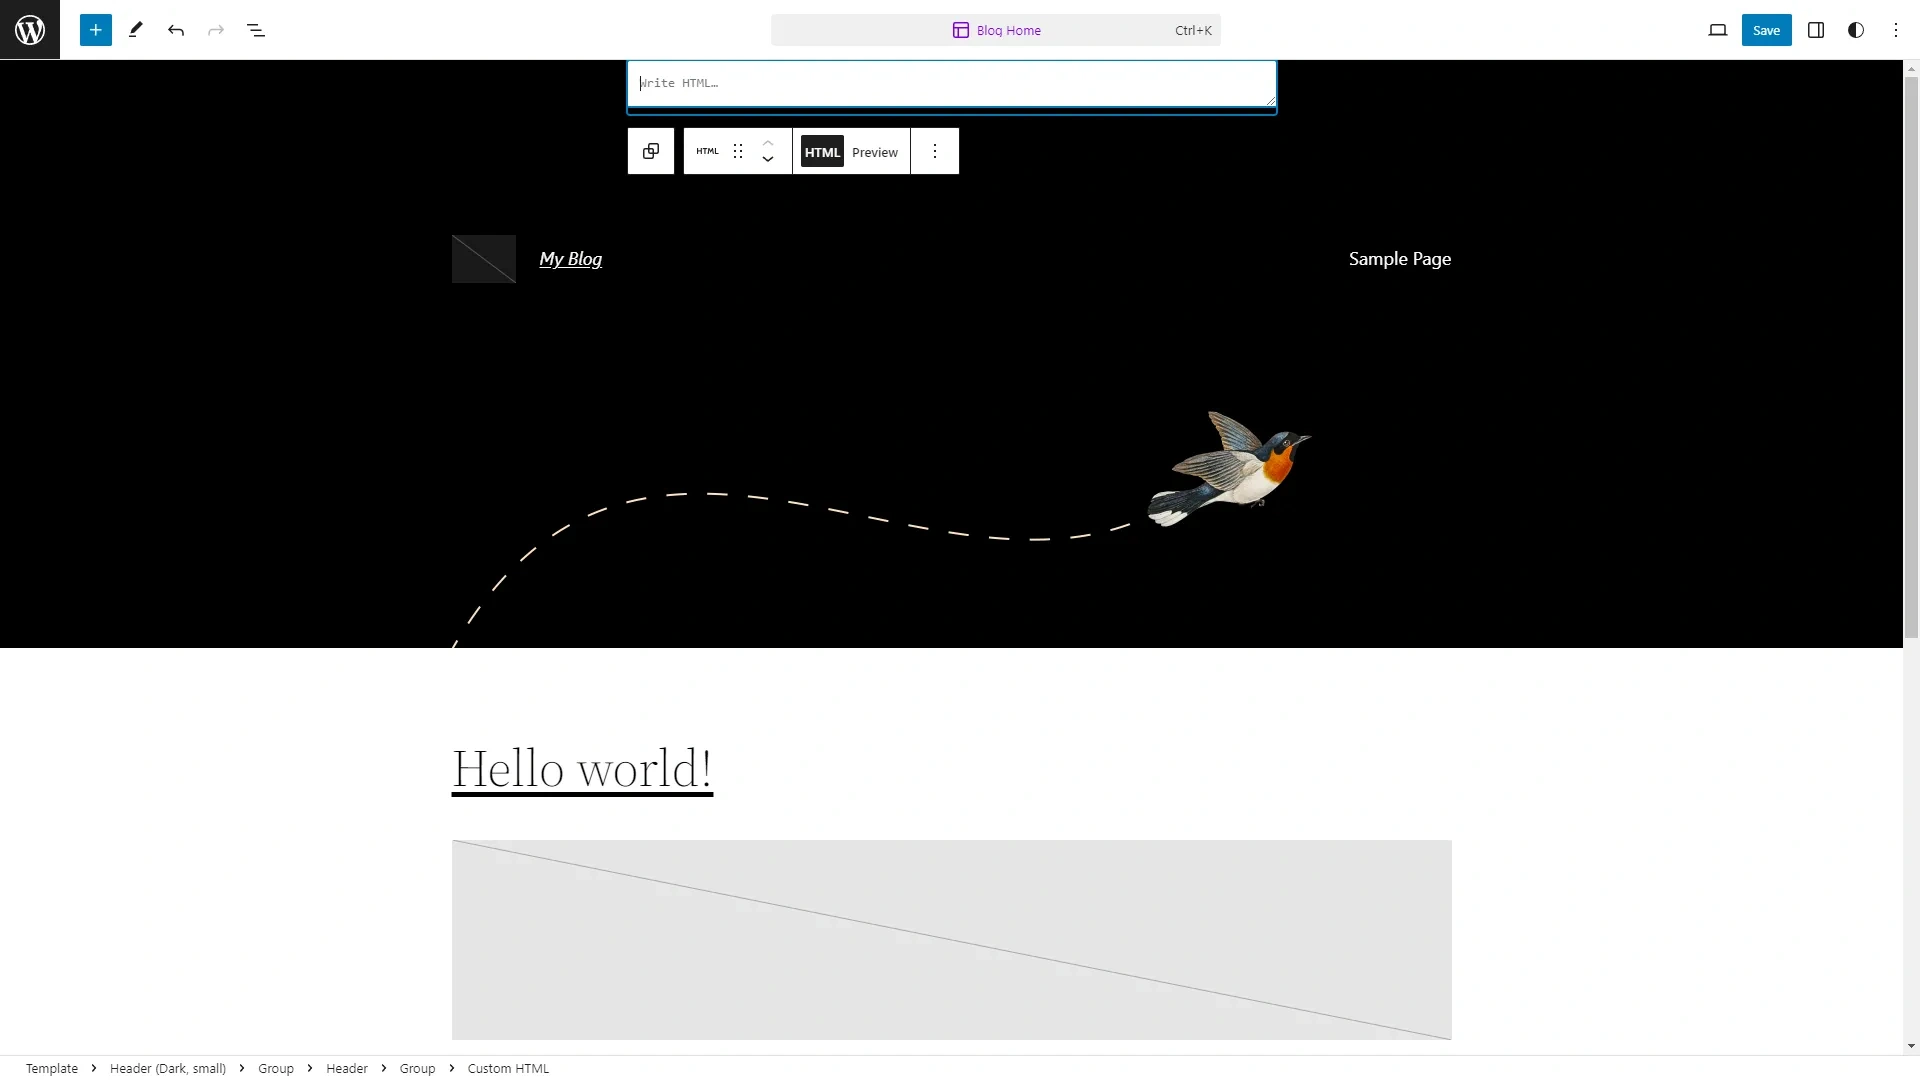
In the upper left part click on the add block «+» button, a panel of adding blocks will open, in which you need to select the «Custom HTML» block.
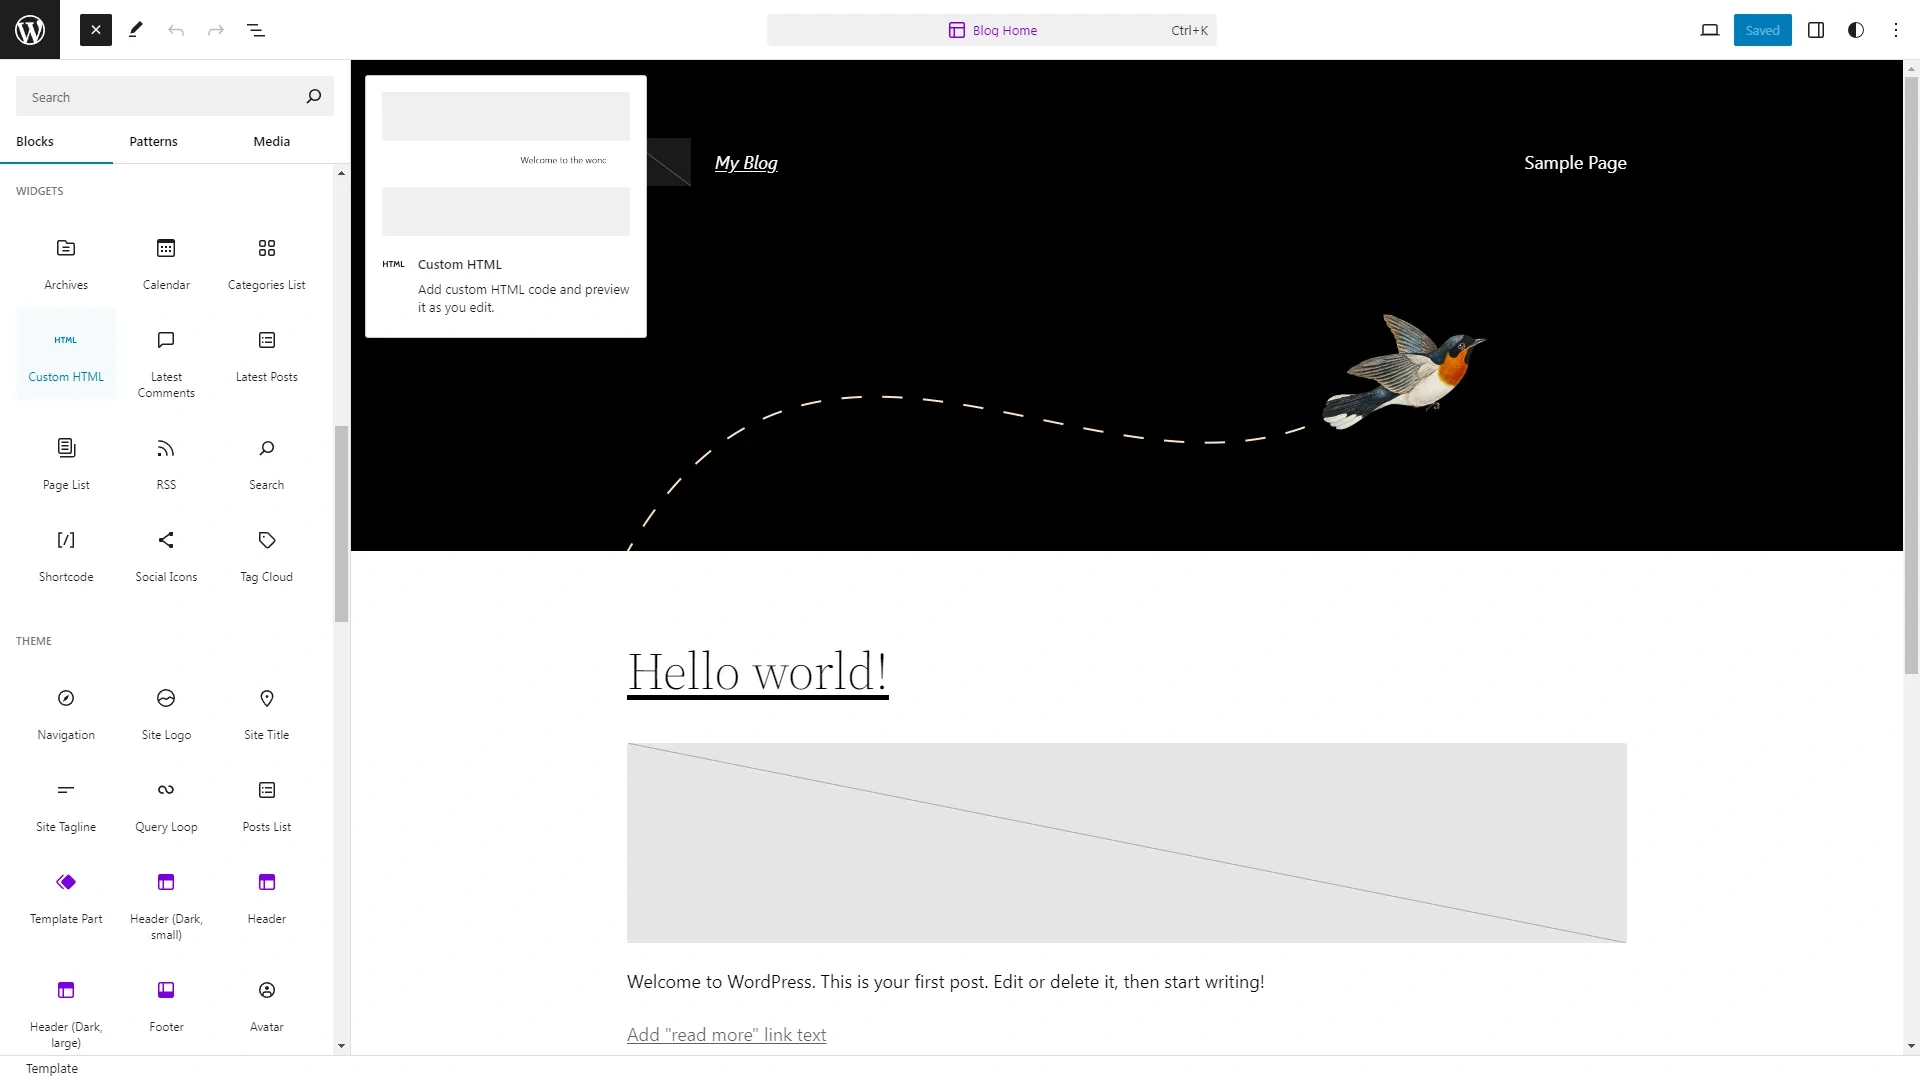
Drag this block onto the workspace to the top of the workspace.

The block will be added to the screen.
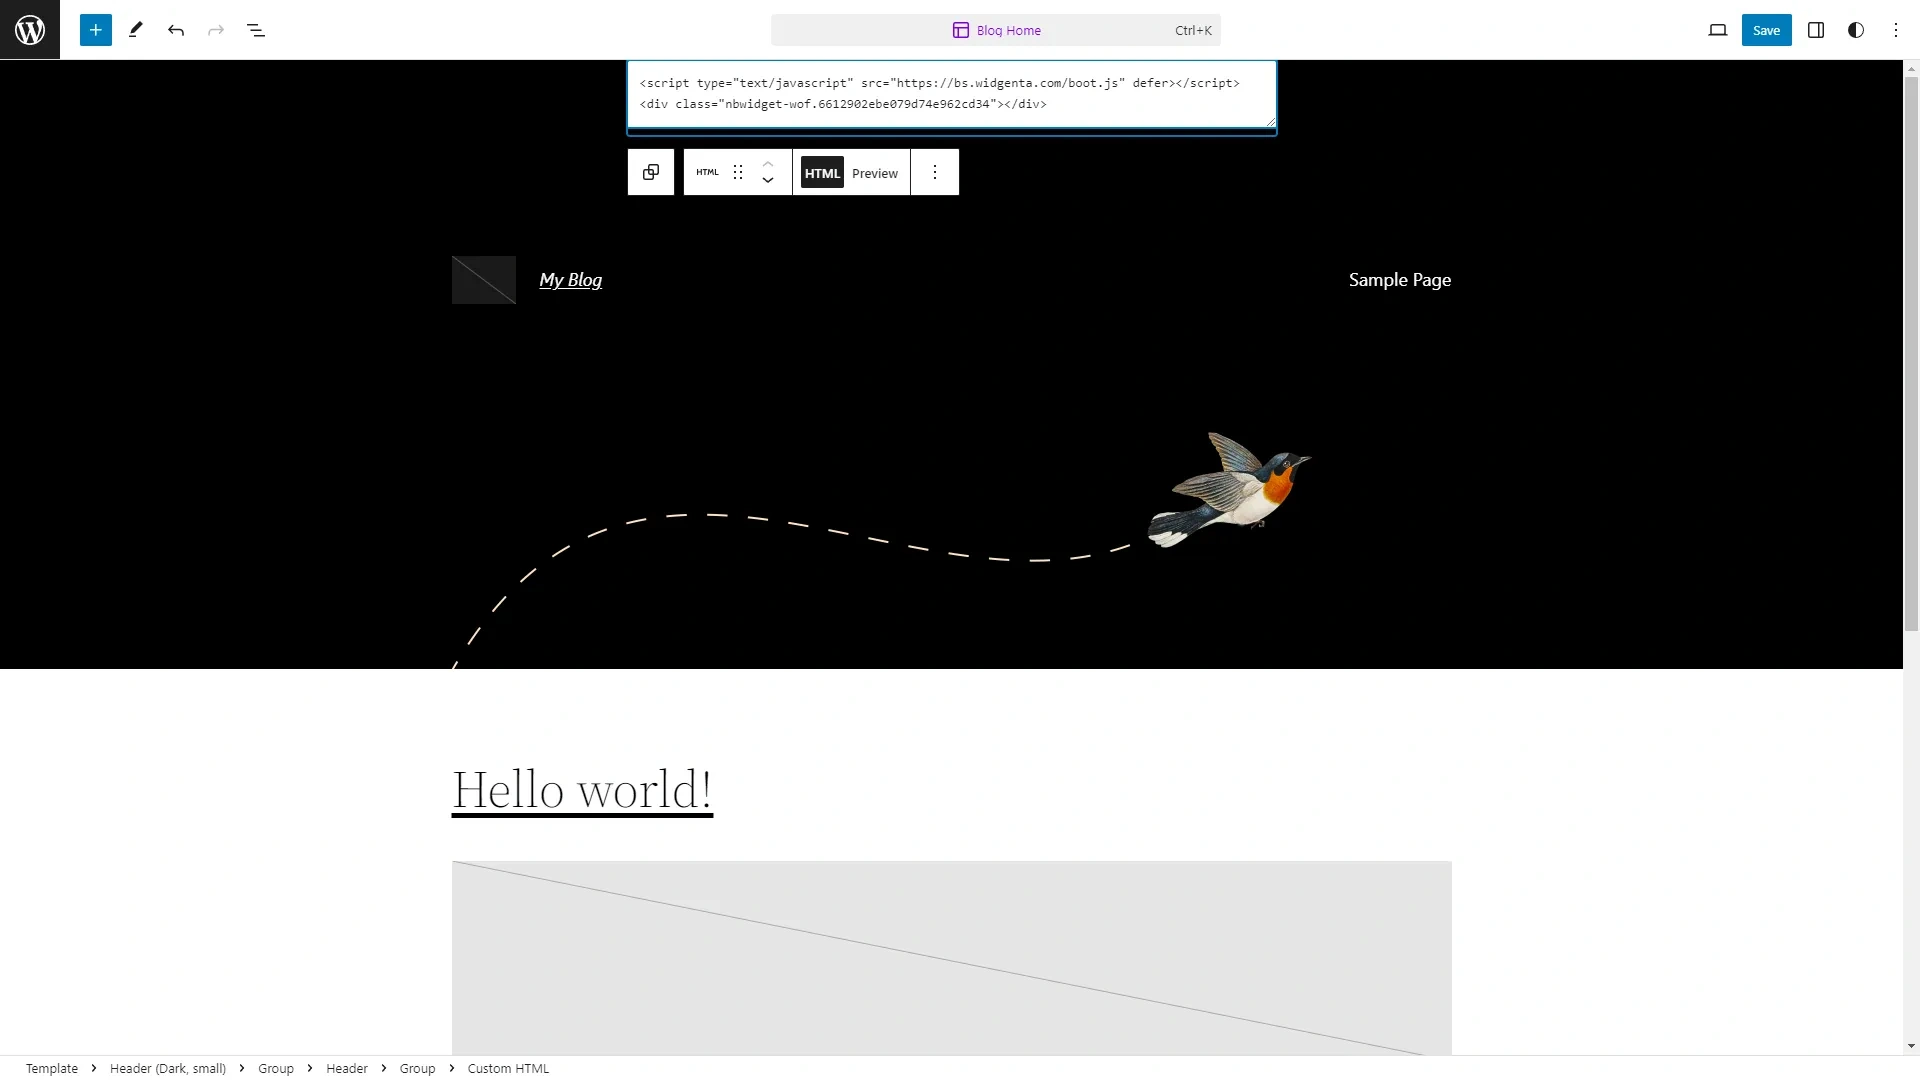
Paste the code from Widgenta for the <head> and <body> blocks into the block.
Click the «Save» button and then exit the editor by clicking on the WordPress logo in the upper left corner.

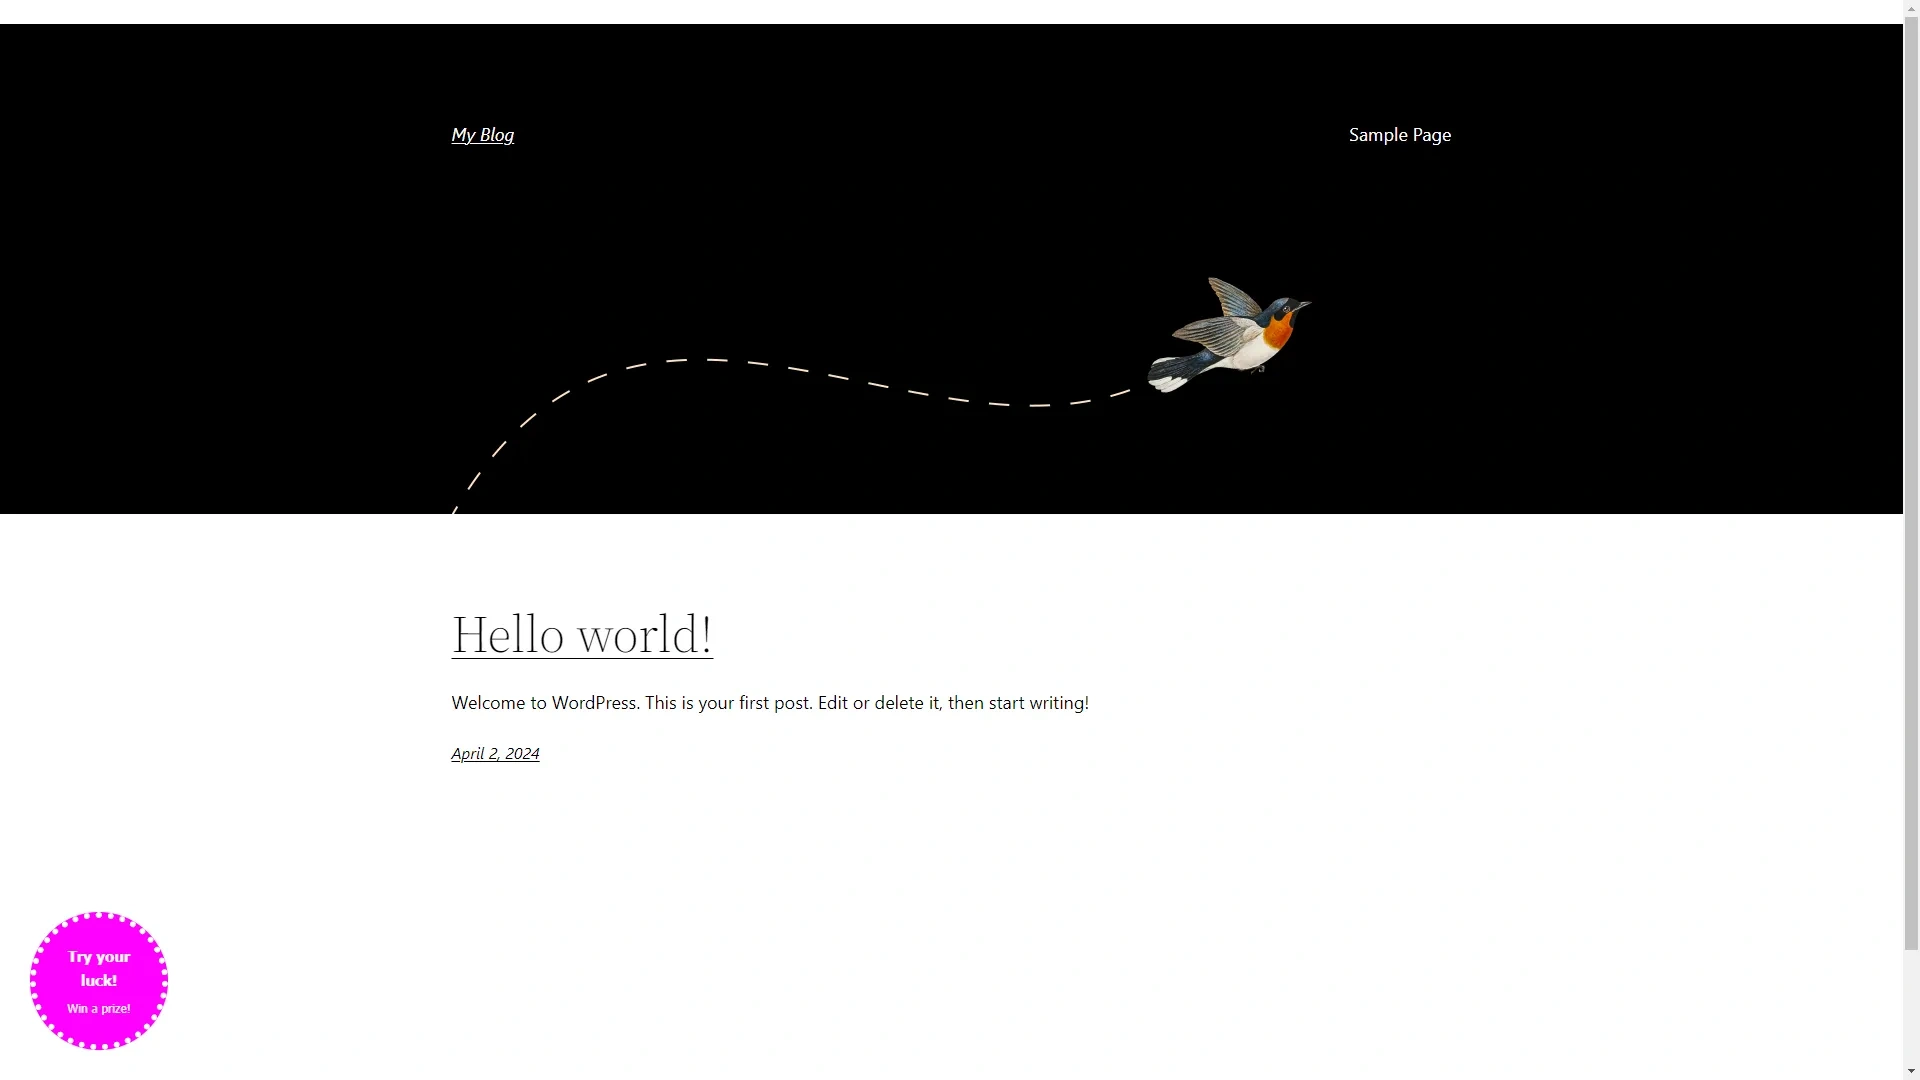
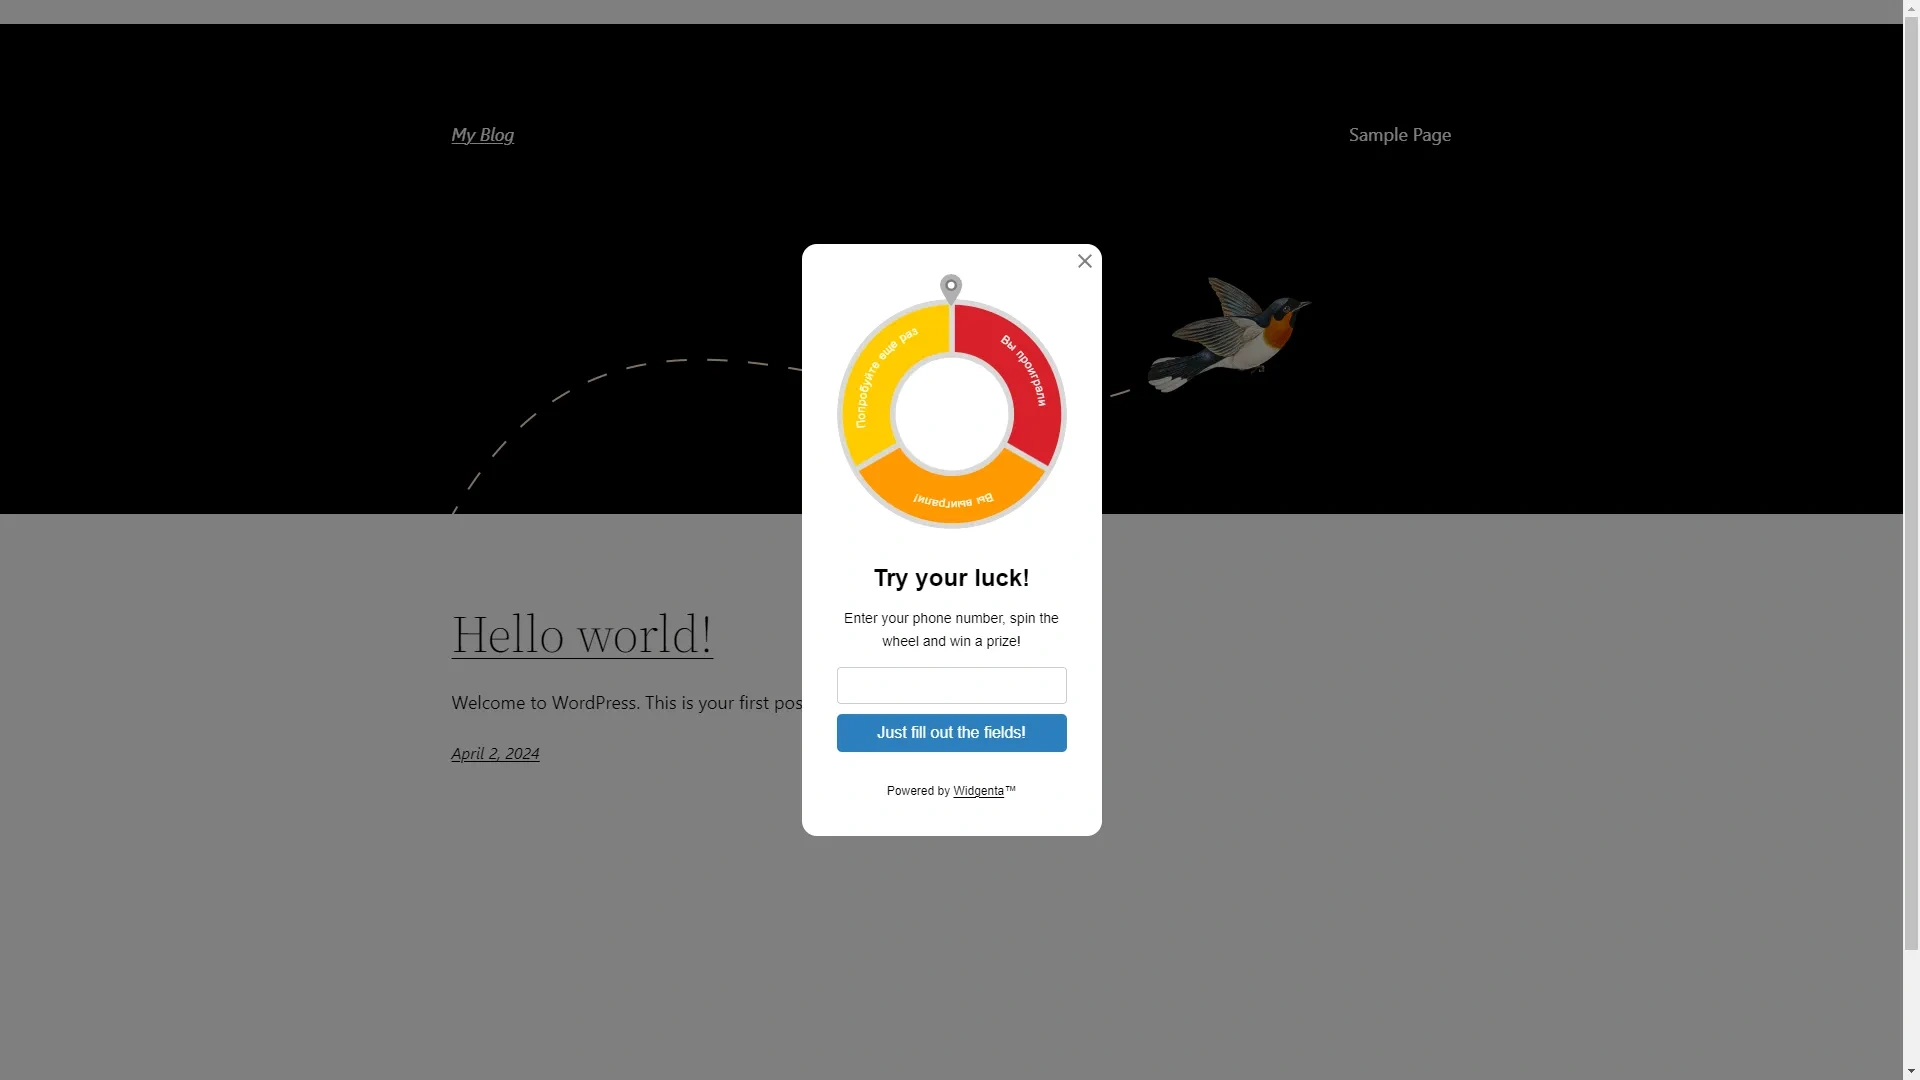
Go to the site and check for a working widget.
Placement of the Widgenta widget on selected pages of your WordPress site (one or more)
After creating, customizing and saving the widget, you have the code available for posting on your site.
Copy the first code for <head> and go into the WordPress admin panel.
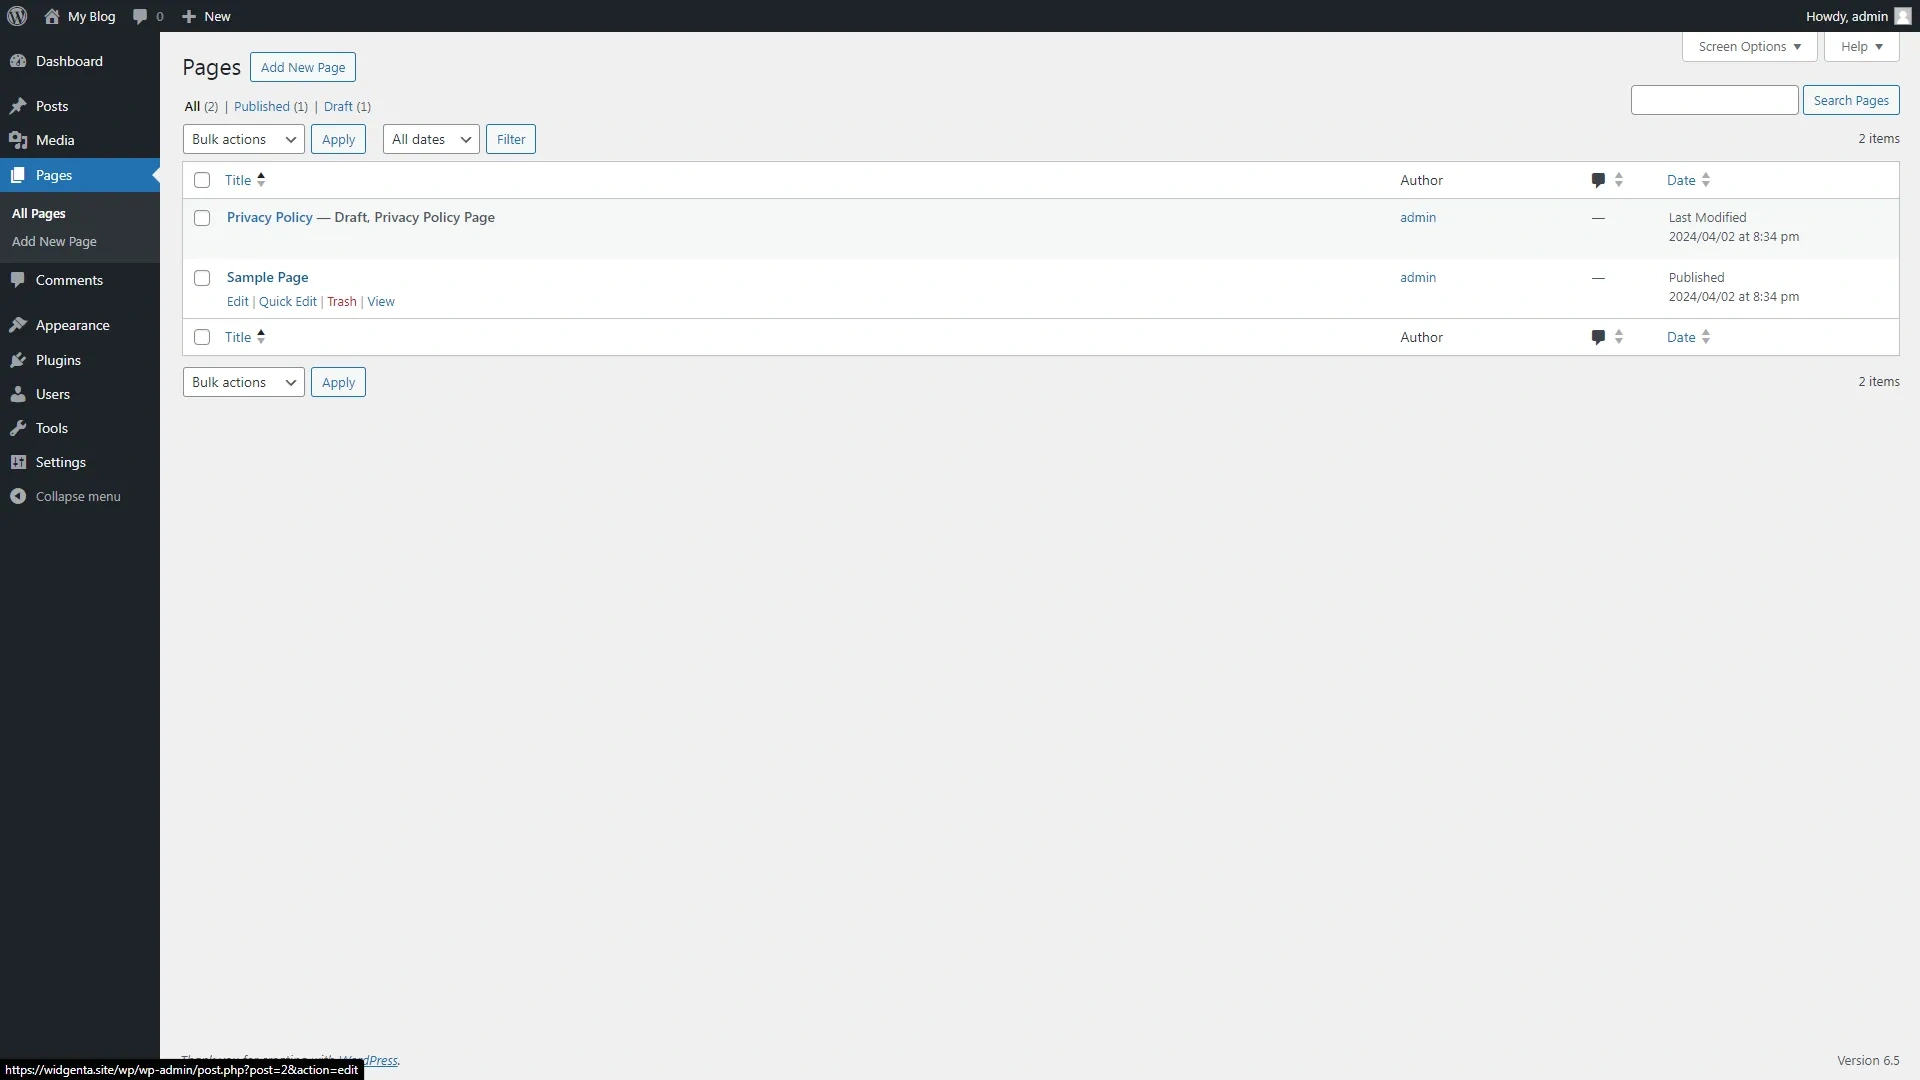
Select the menu item «Pages» > «All pages».
Select the page on which we want to place the Widgenta widget, click on its name or «Edit» button.
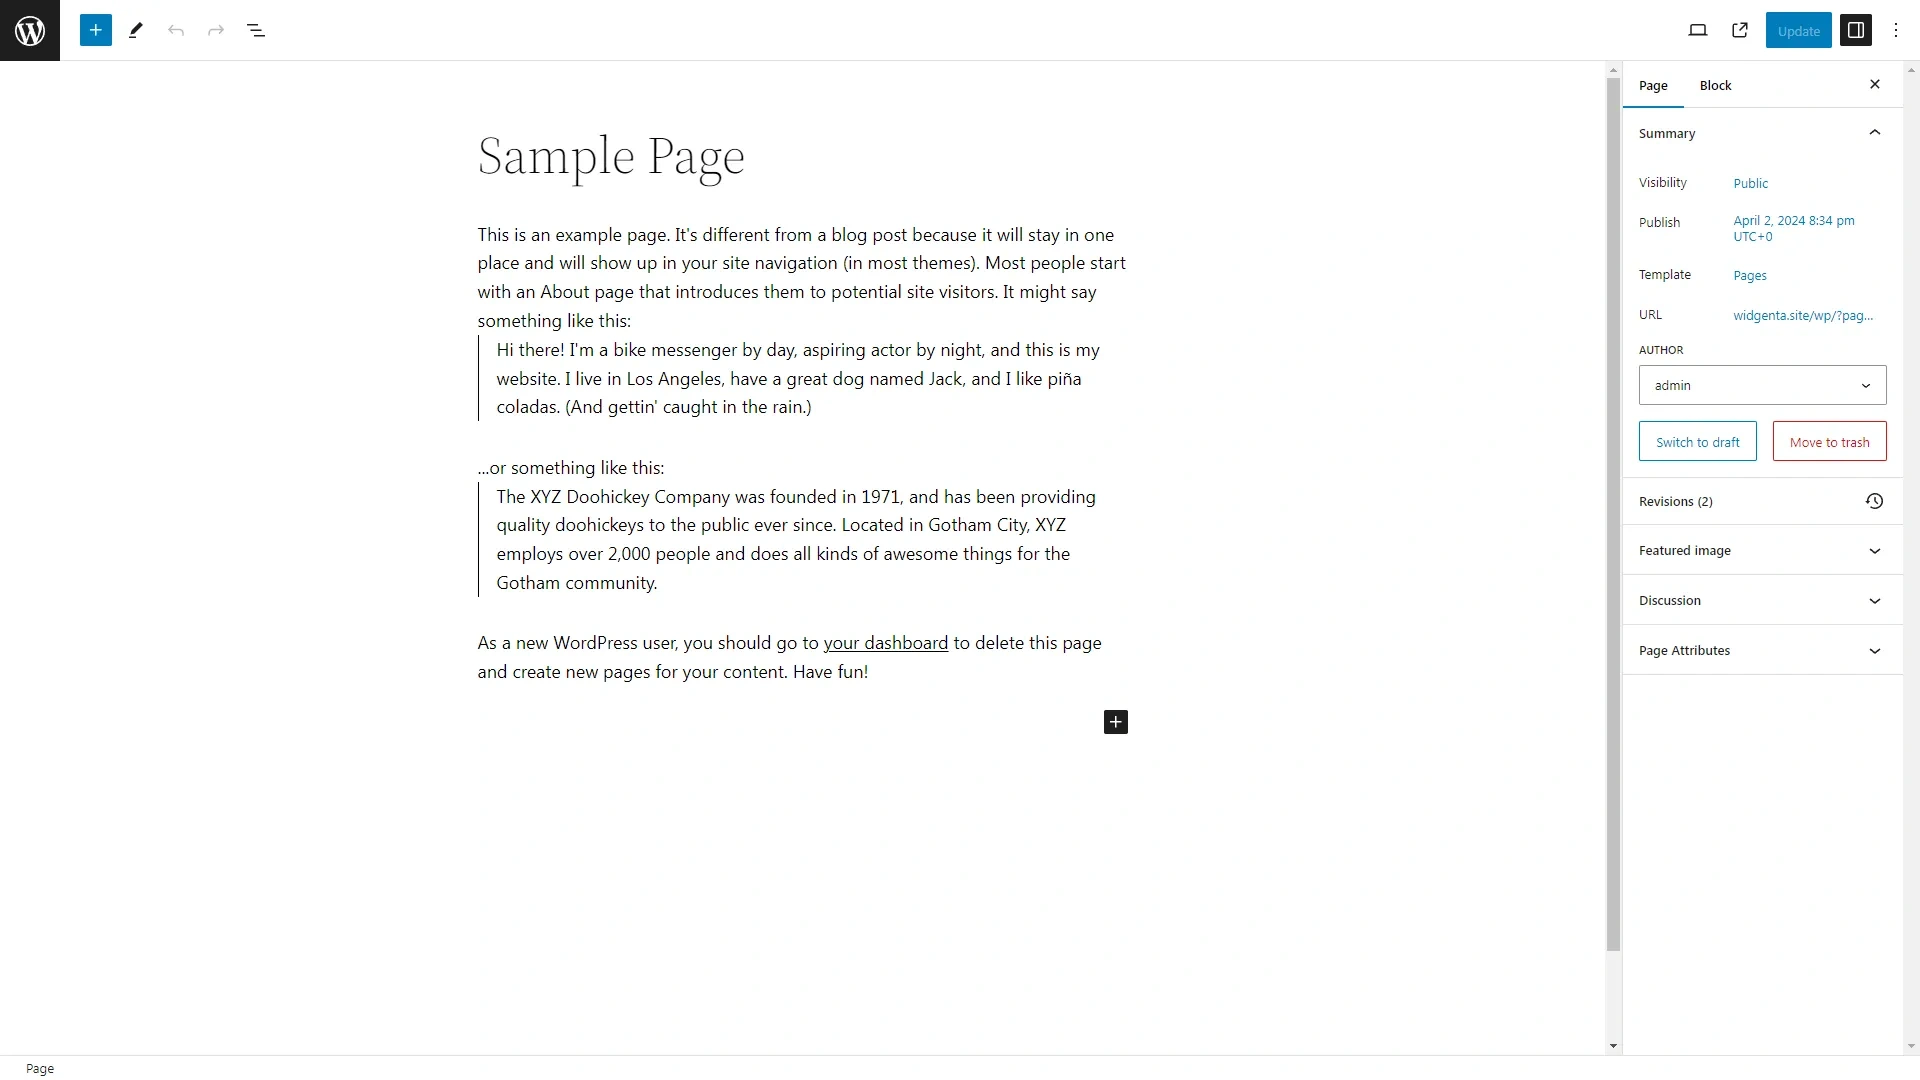
You get to the visual editor of the page.
In the upper left part click on the add block «+» button, a panel of adding blocks will open, in which you need to select the «Custom HTML» block.
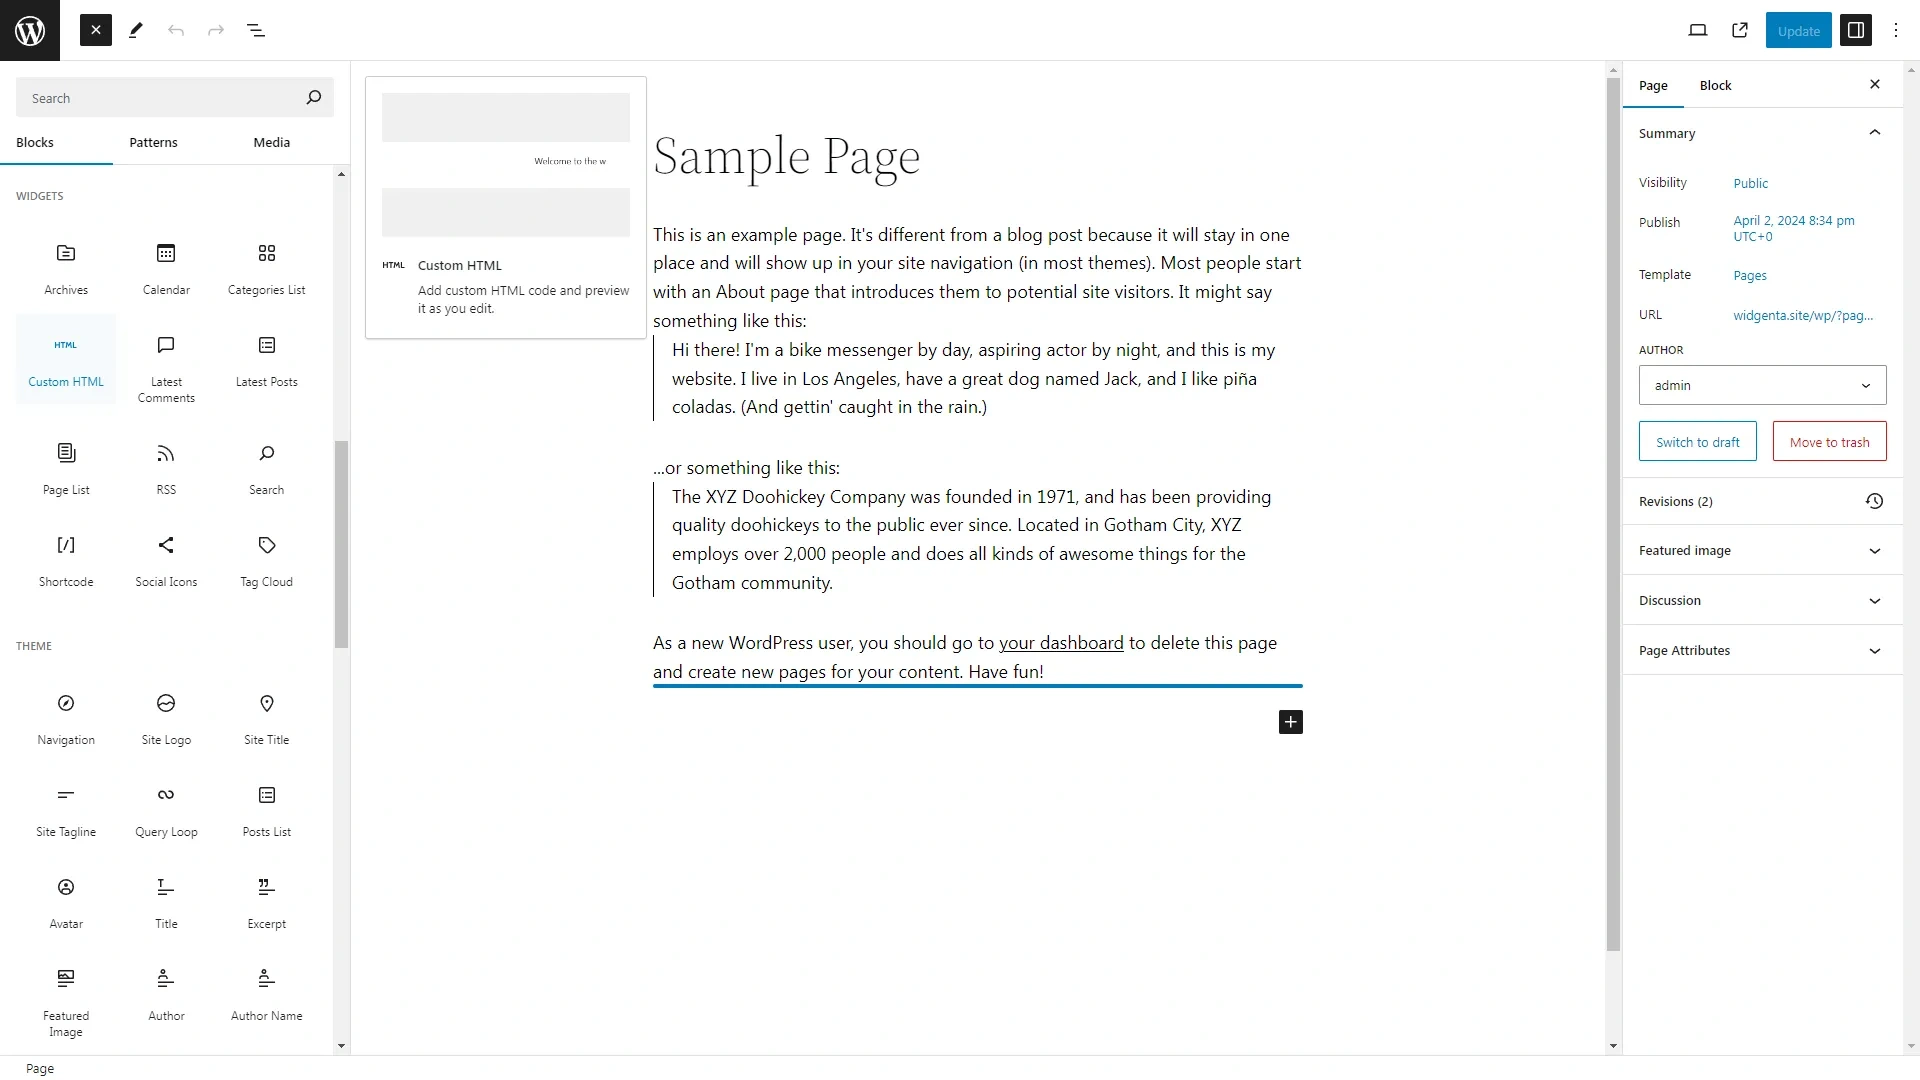
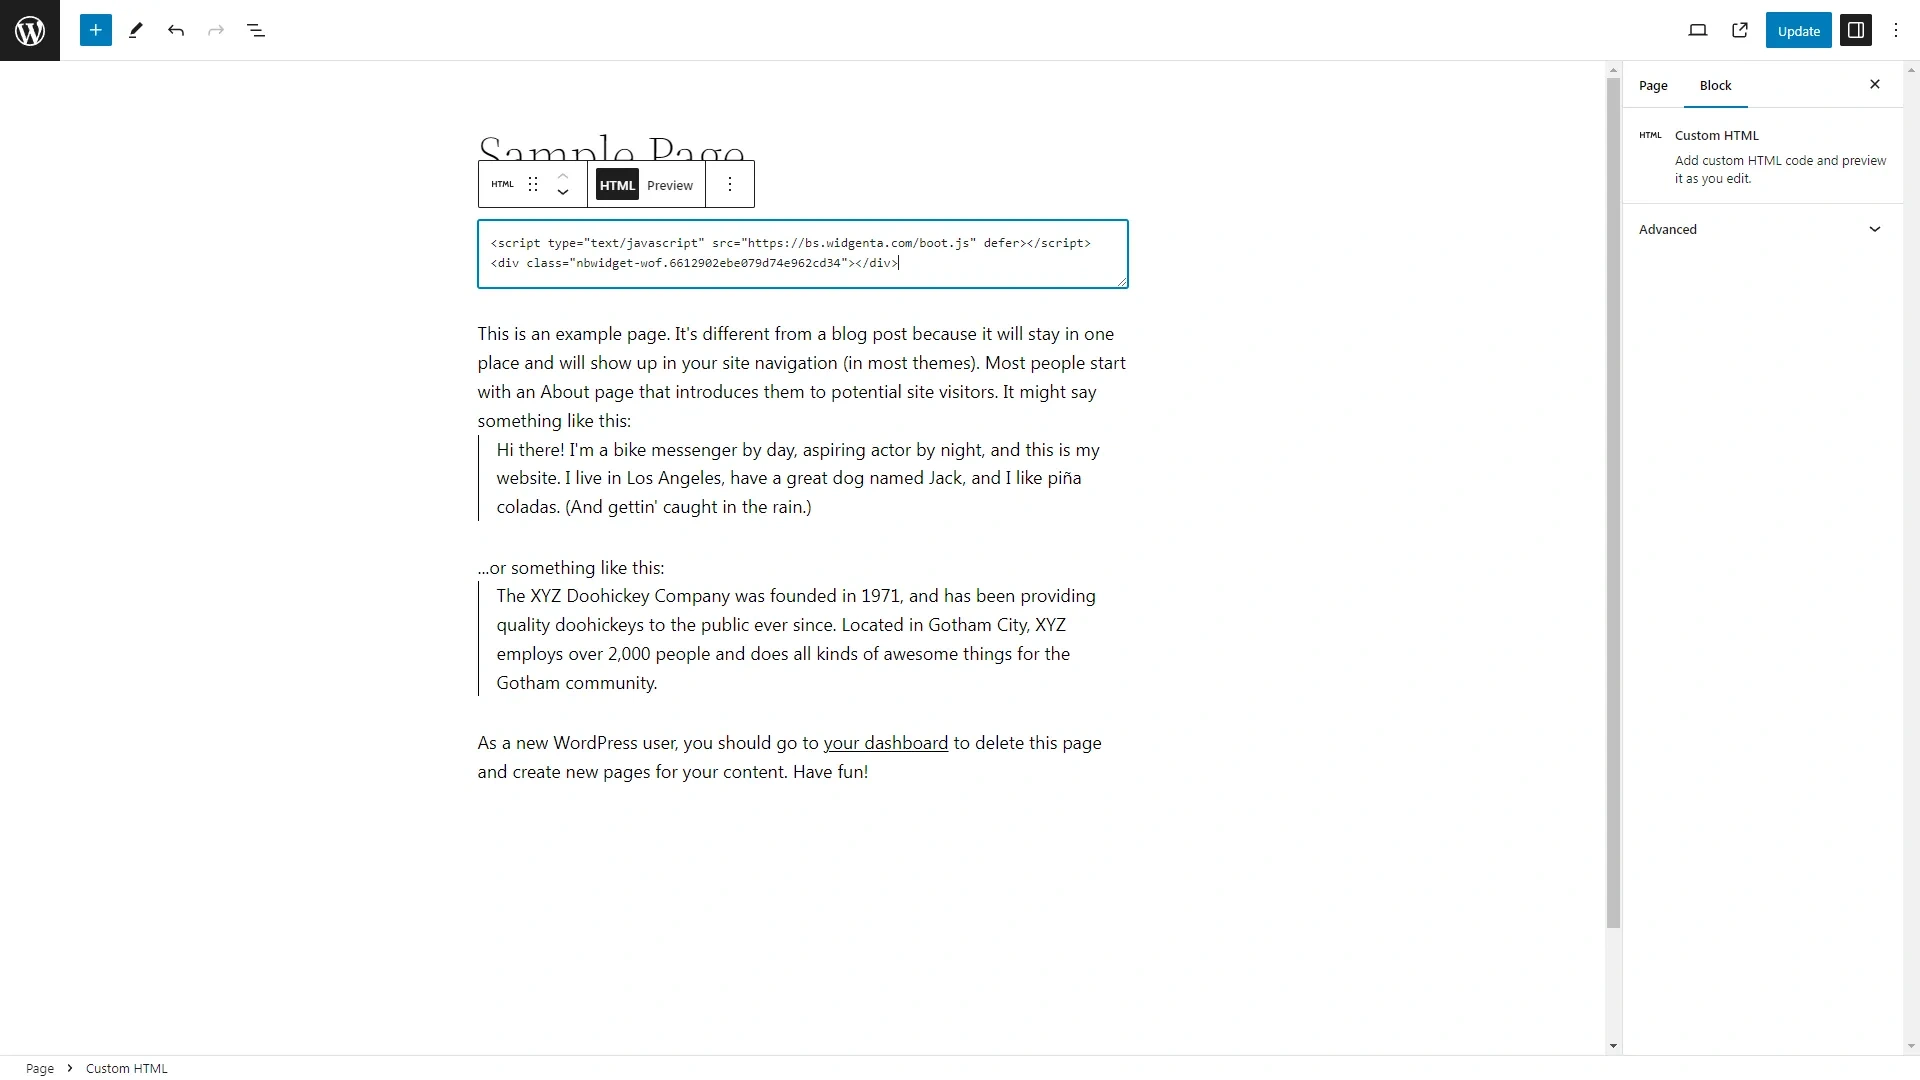
Drag and drop this block to any part of the workspace.
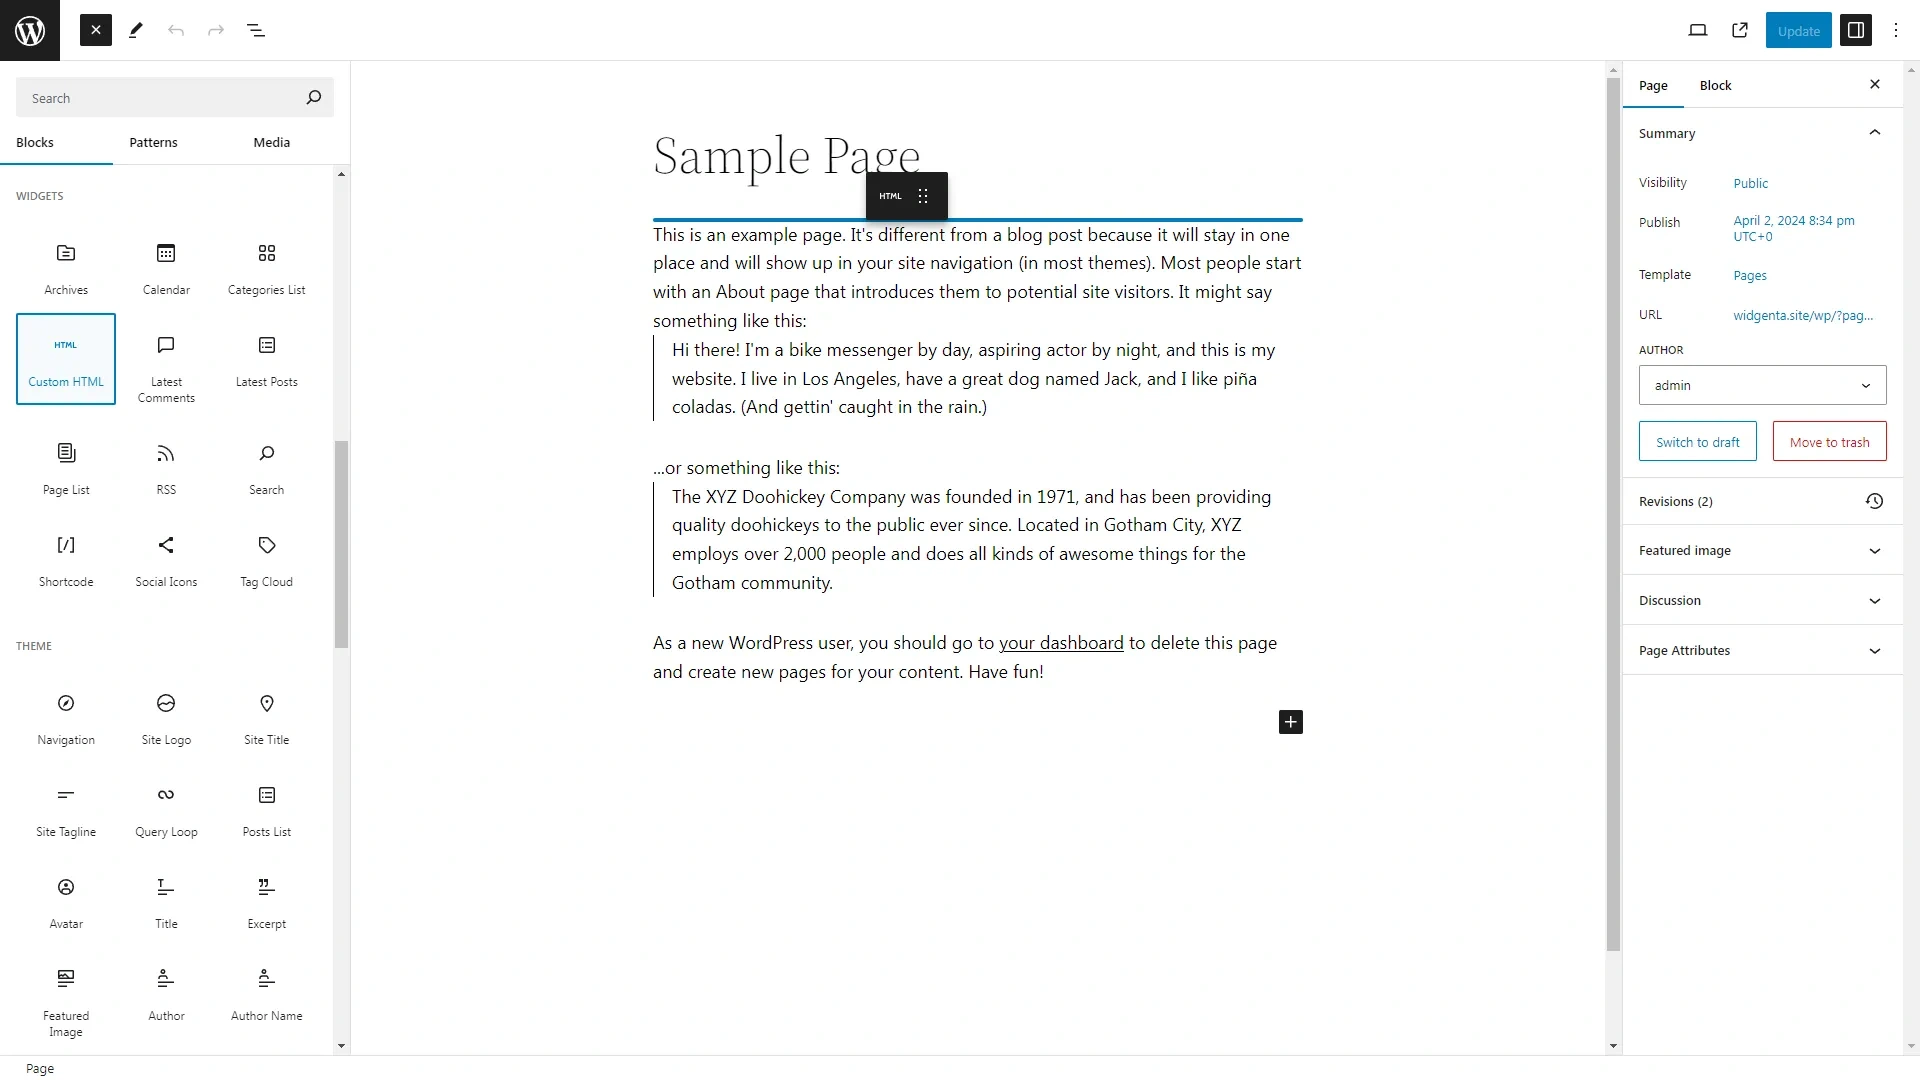
The block will be added to the screen, paste the code from Widgenta for <head> and <body> blocks into it.
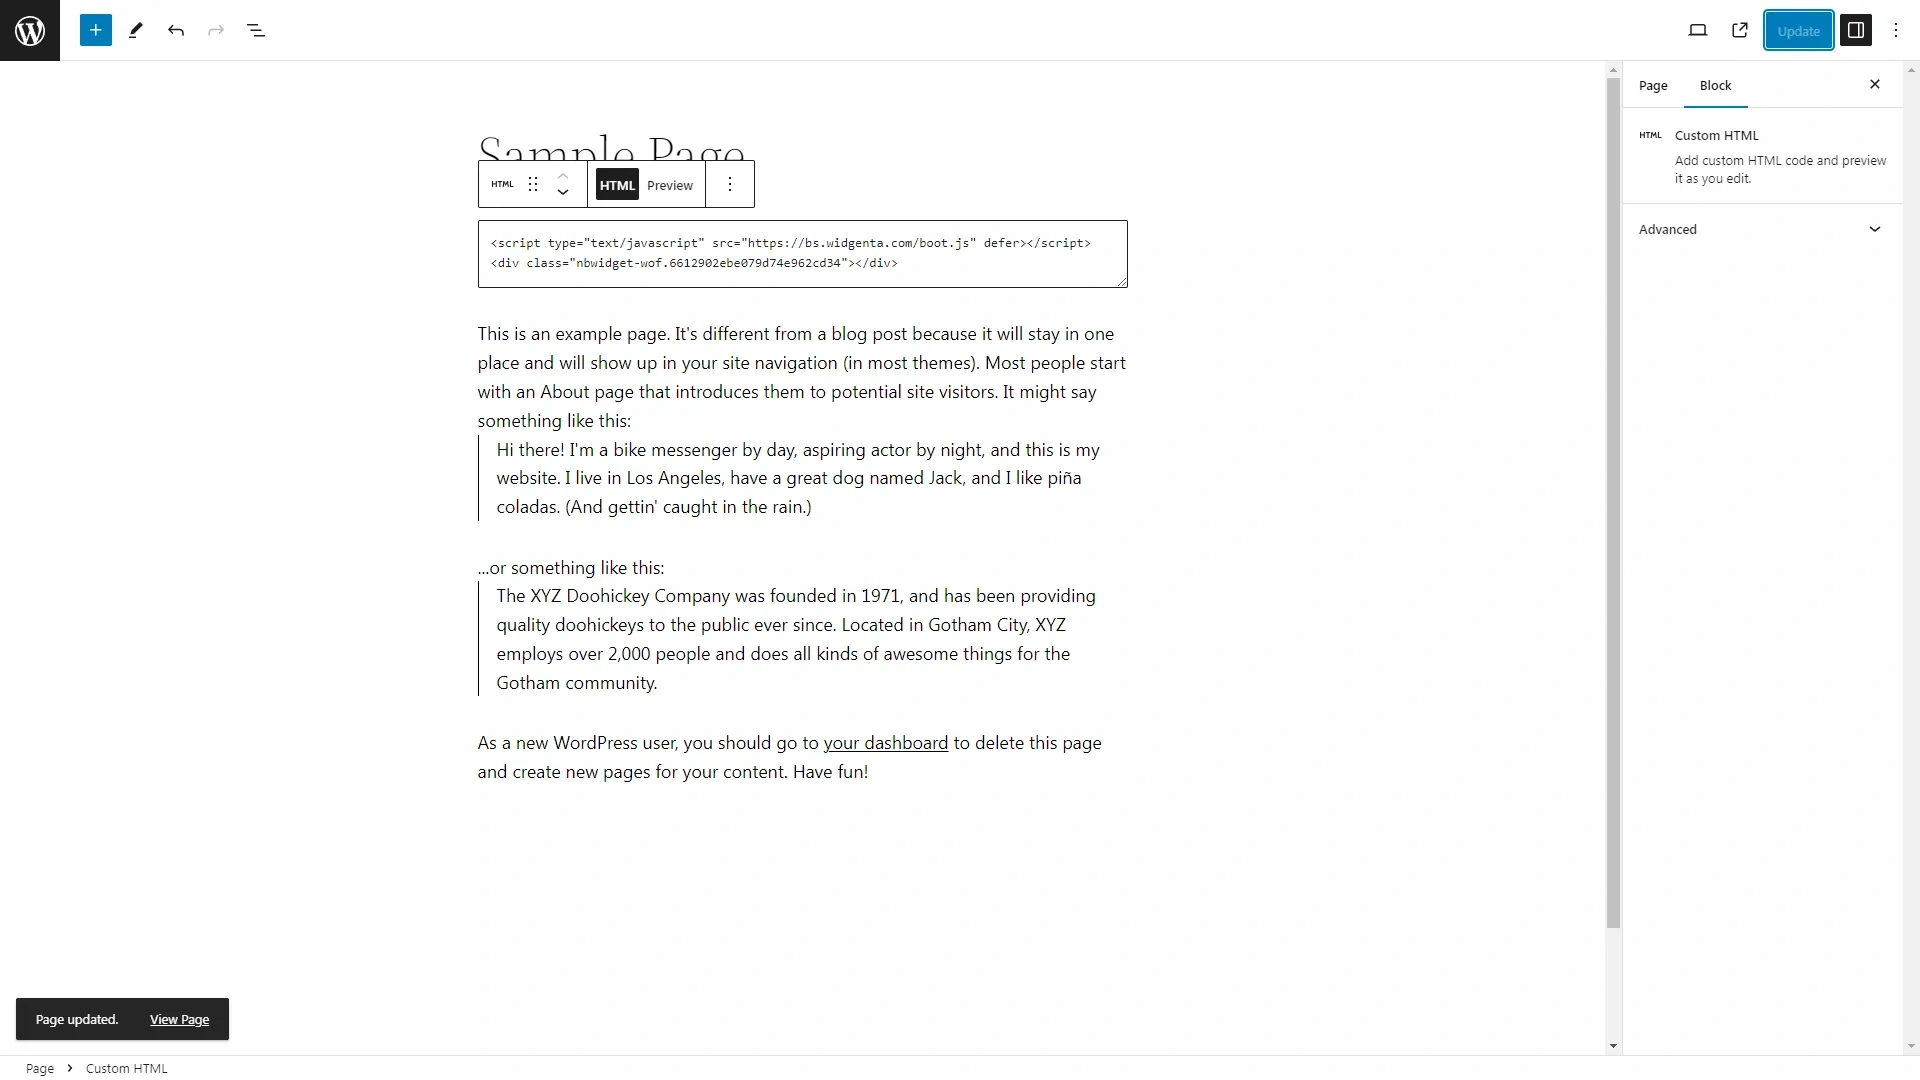
Click the «Save» button and then exit the editor by clicking on the WordPress logo in the upper left corner.
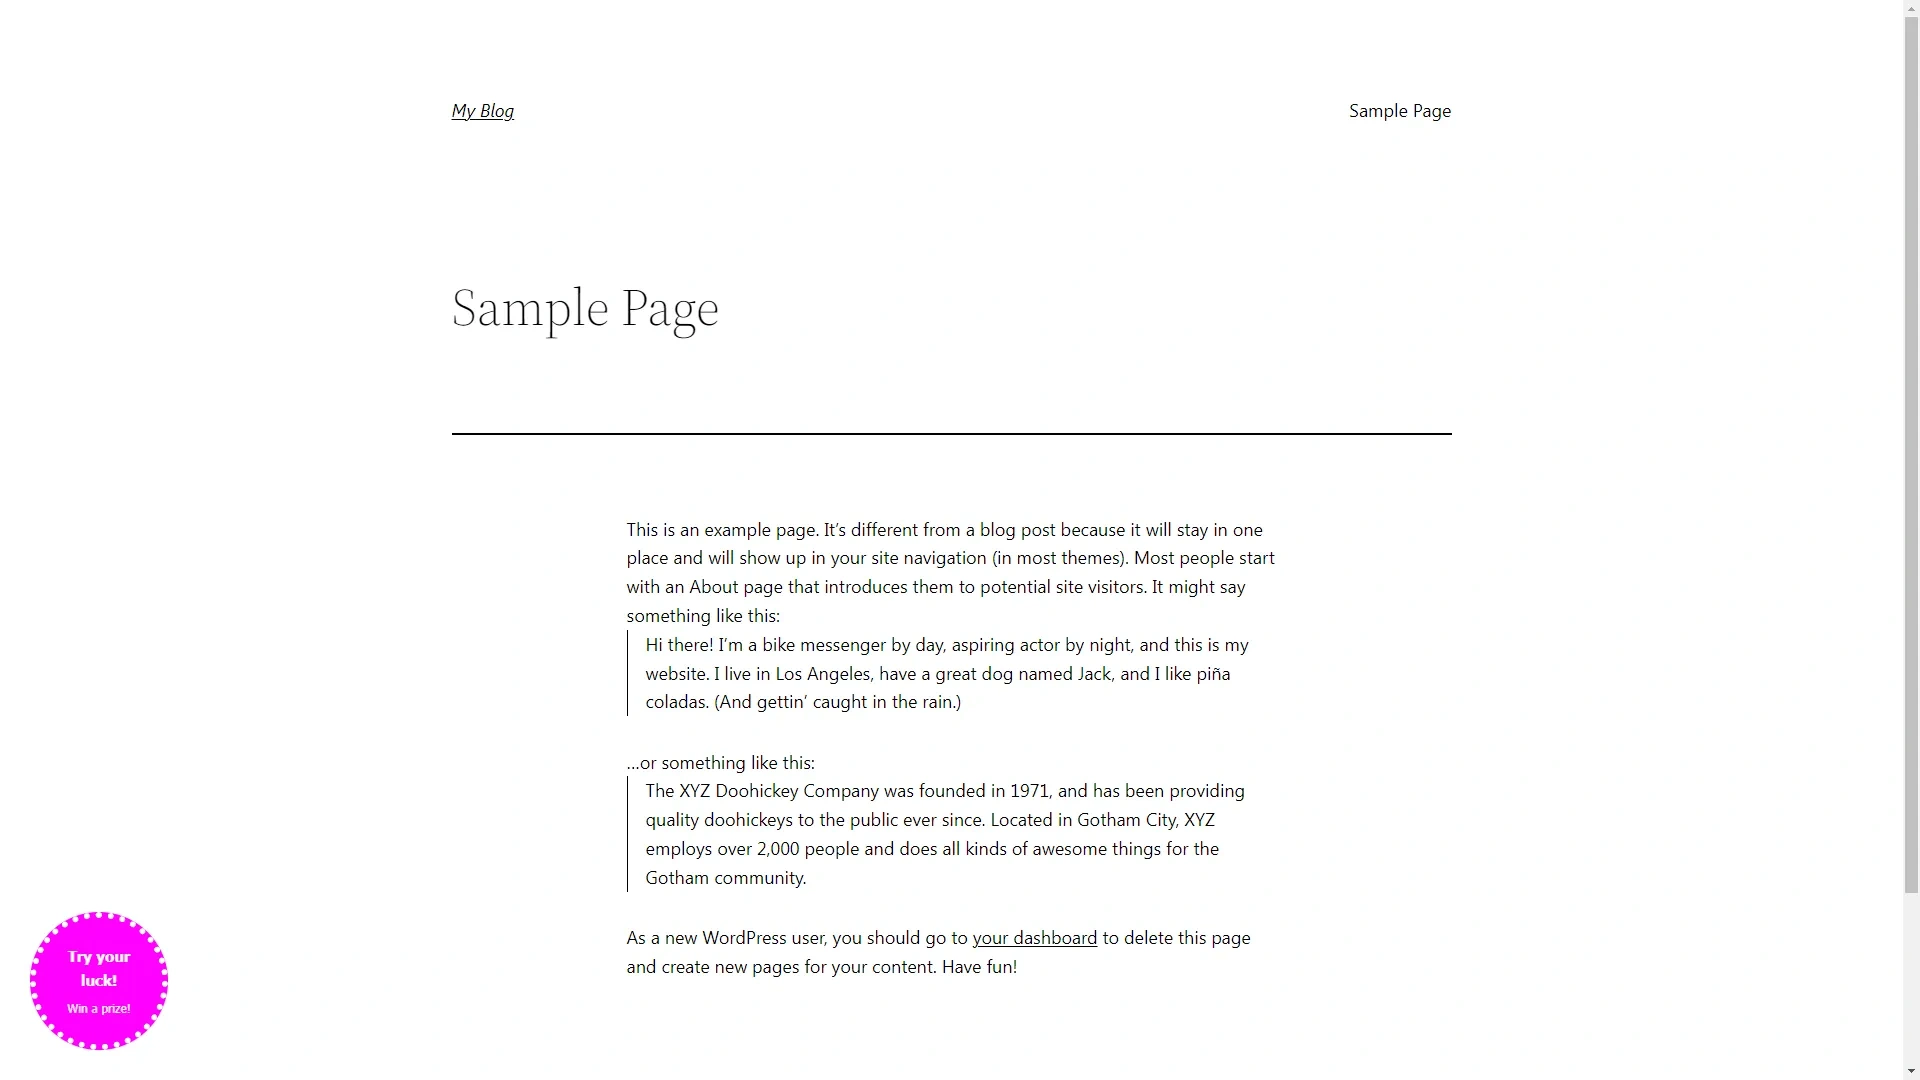
Go to the site and check for the absence of the widget, since you placed it on the "Simple page".
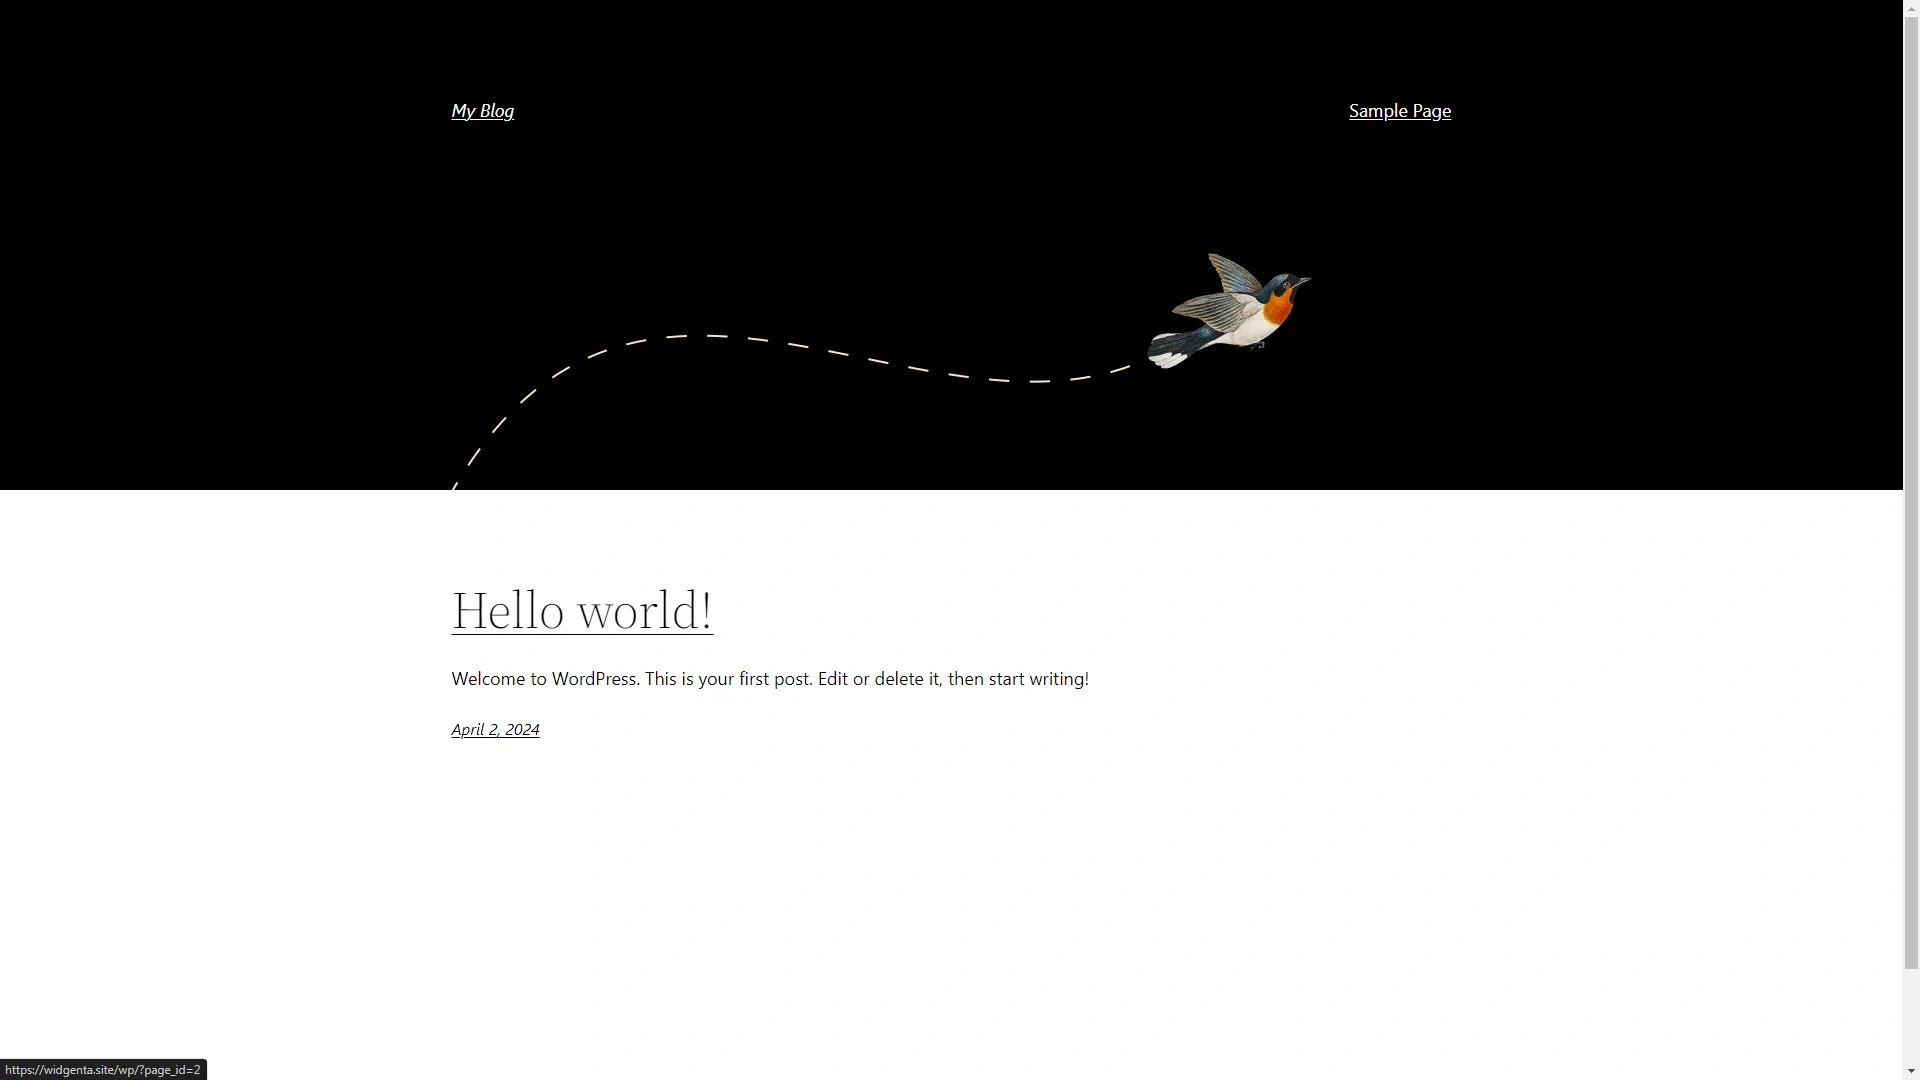
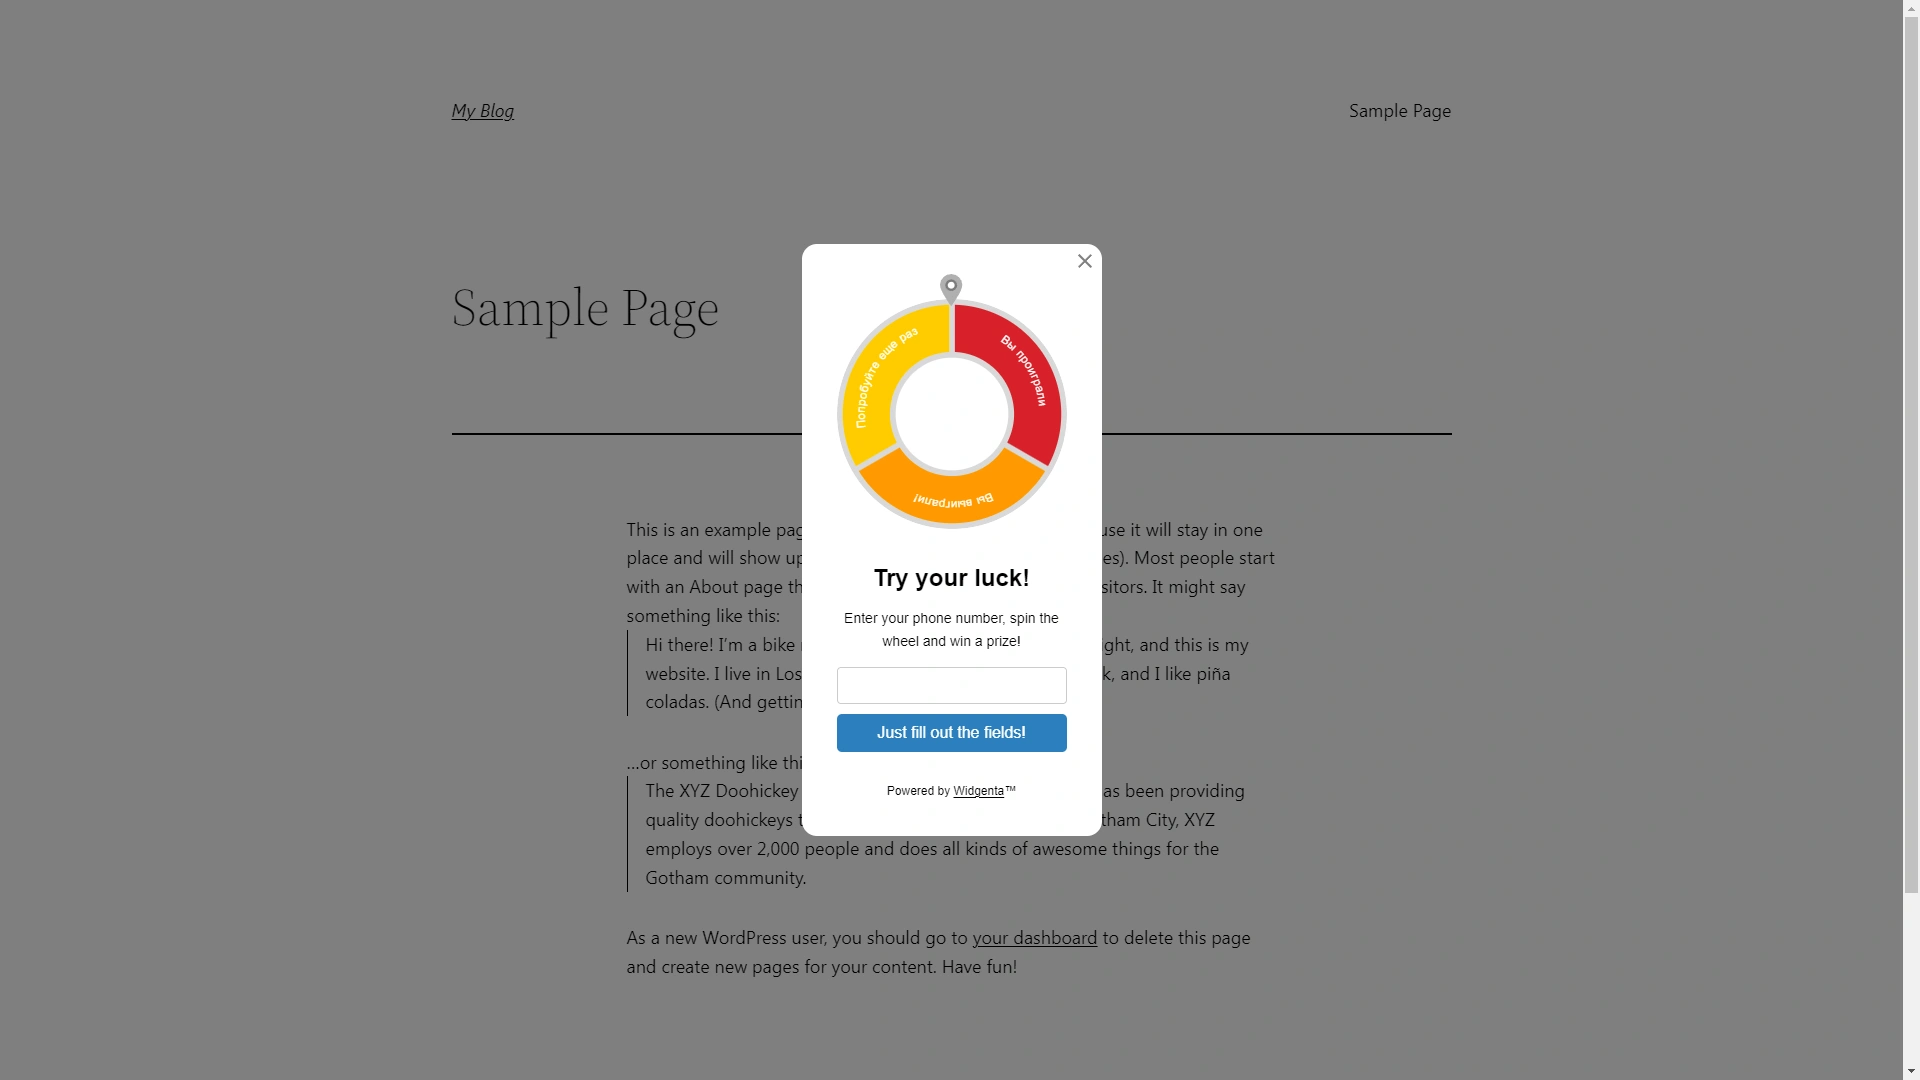
Go to the "Simple page" and you will be able to see the widget you posted.