Integration with Widgenta using Webhook
You can send lead data collected from widgets in real time to your CRM or any other external service using webhooks.
This feature works with all lead-generating widgets.
How to set up a Webhook in Widgenta

- In your personal dashboard, go to the «Integrations» section
- Click the «+ Add integration»
- Enter an integration name - for your reference (does not affect functionality)
- Select the integration type «Webhook»
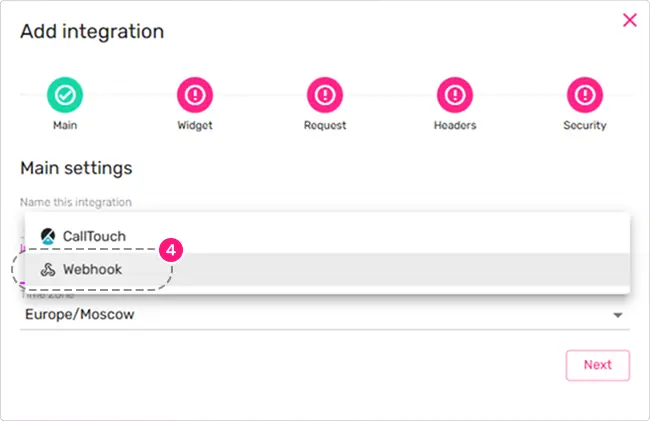
- Make sure the correct timezone is selected to ensure accurate date and time delivery
Click the «Next» button
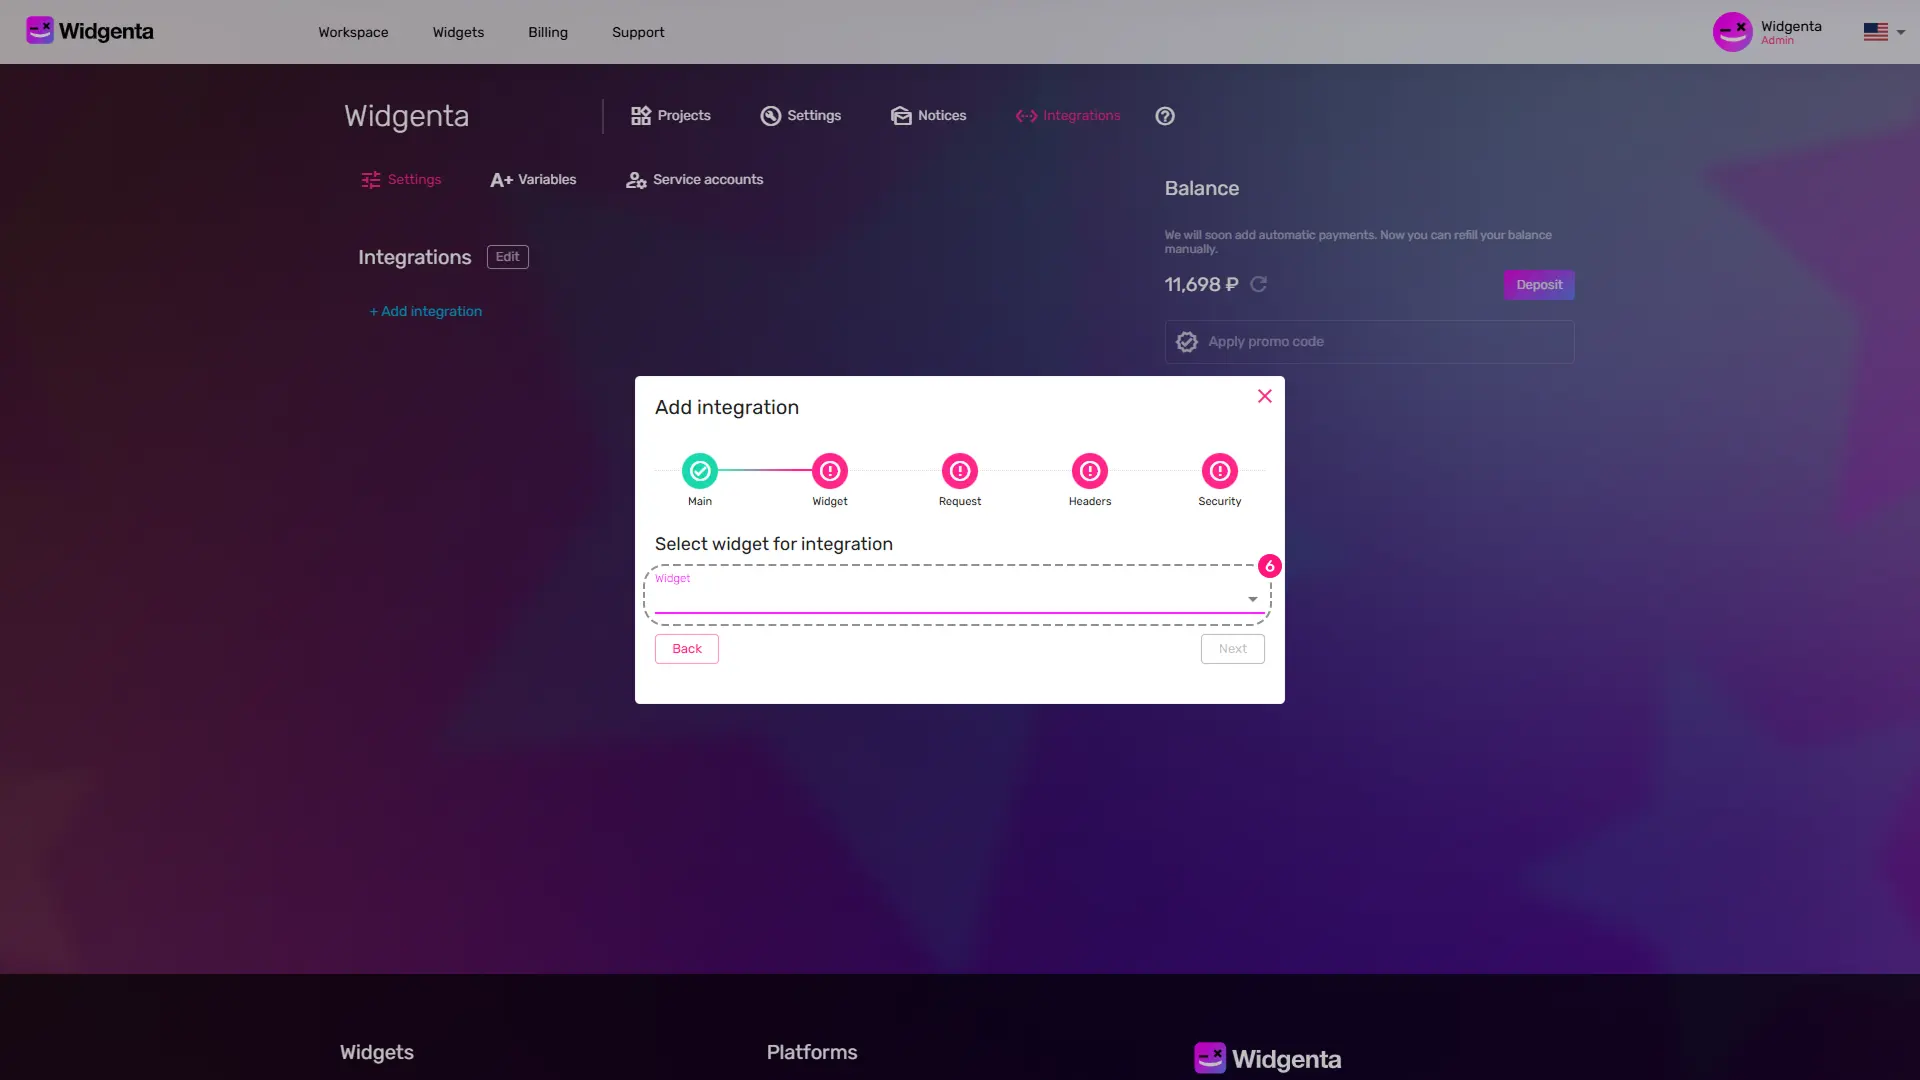
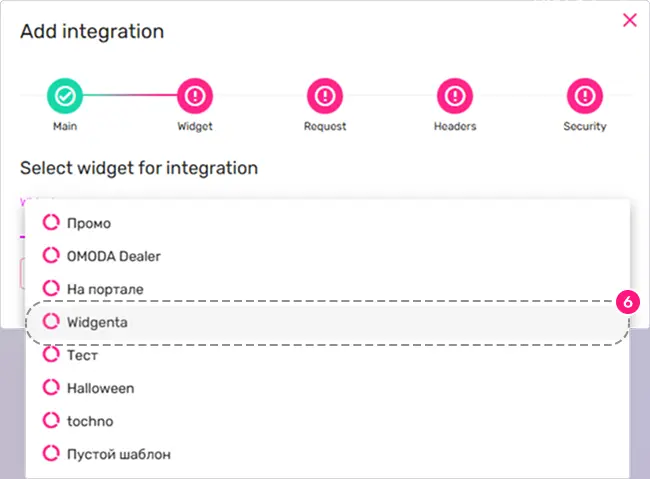
- From the drop-down list, select the widget for which you are enabling webhook integration.
Click the «Next» button
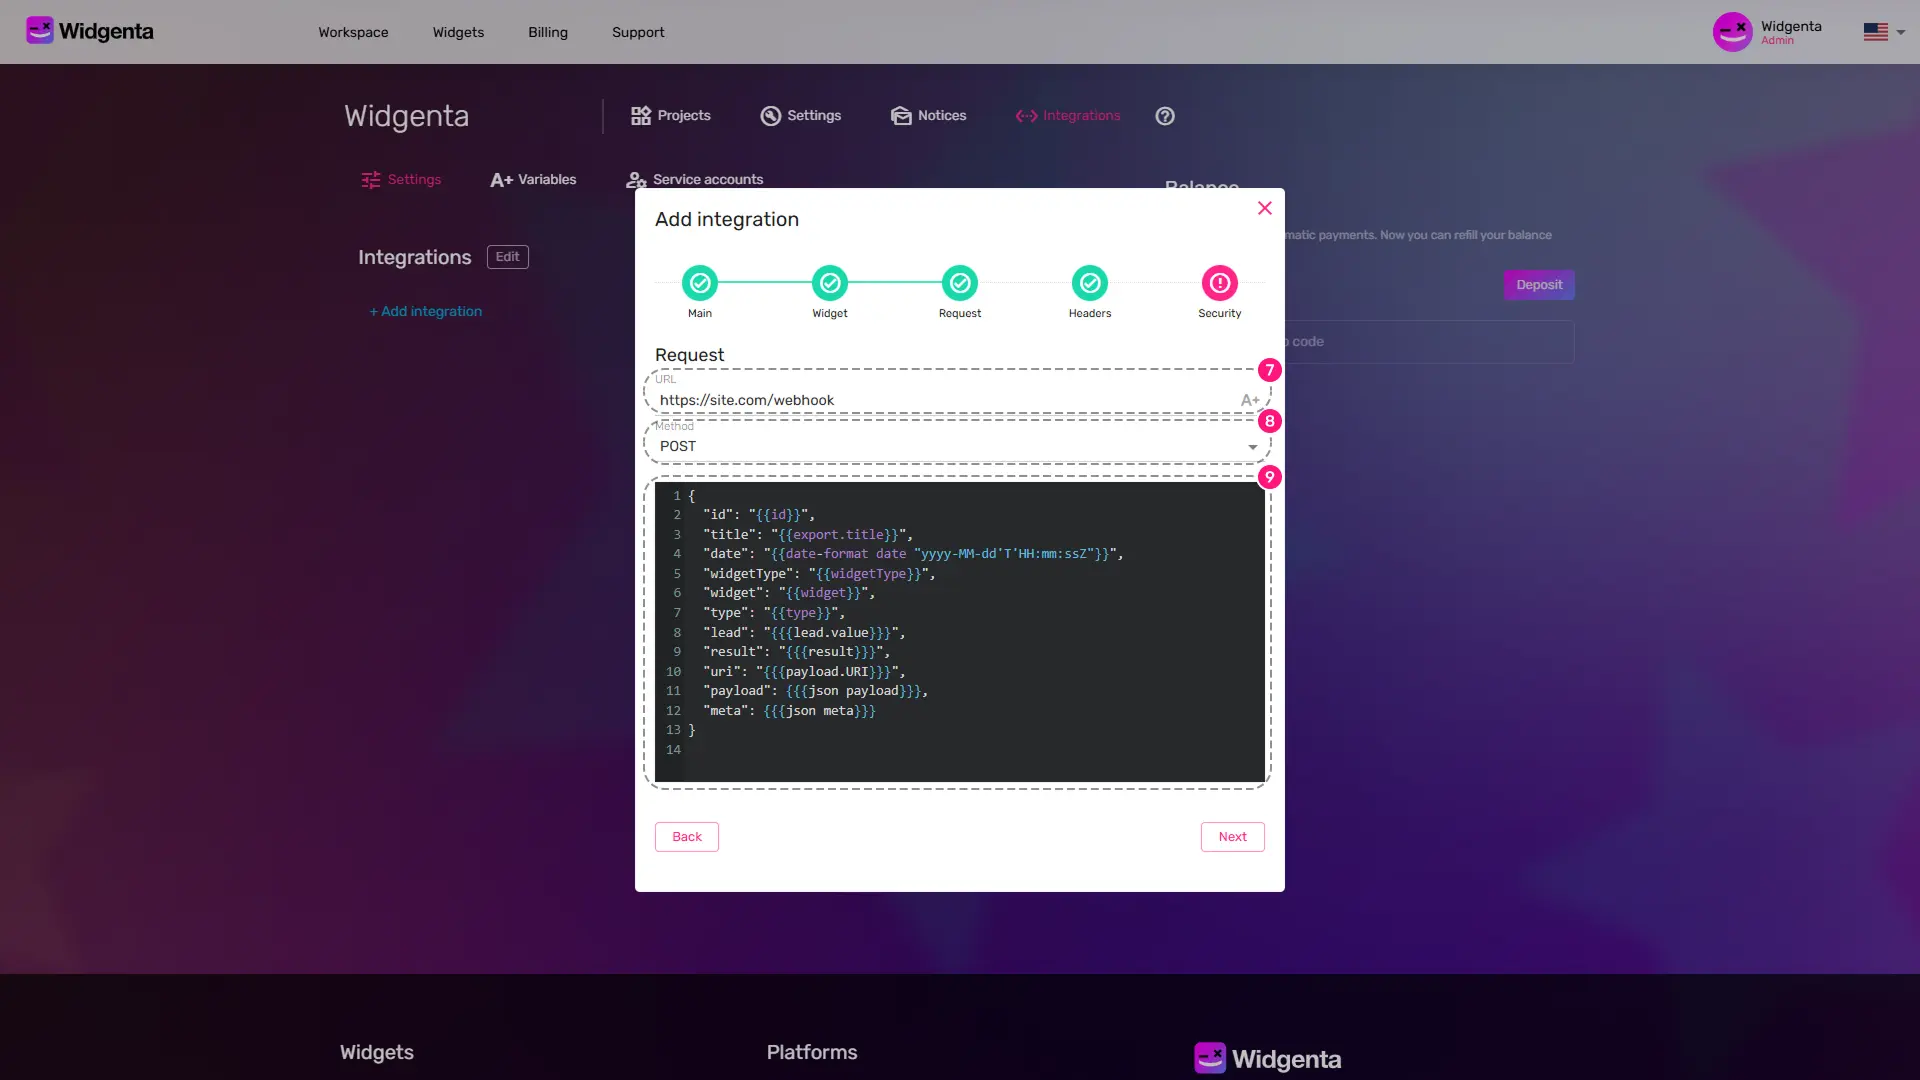
- Enter the URL of your webhook receiver endpoint
- Choose the HTTP method for sending the webhook:
- POST - recommended
- PUT
- PATCH
- You’ll see a preview of the JSON body we will send - you can edit it if needed
Click the «Next» button
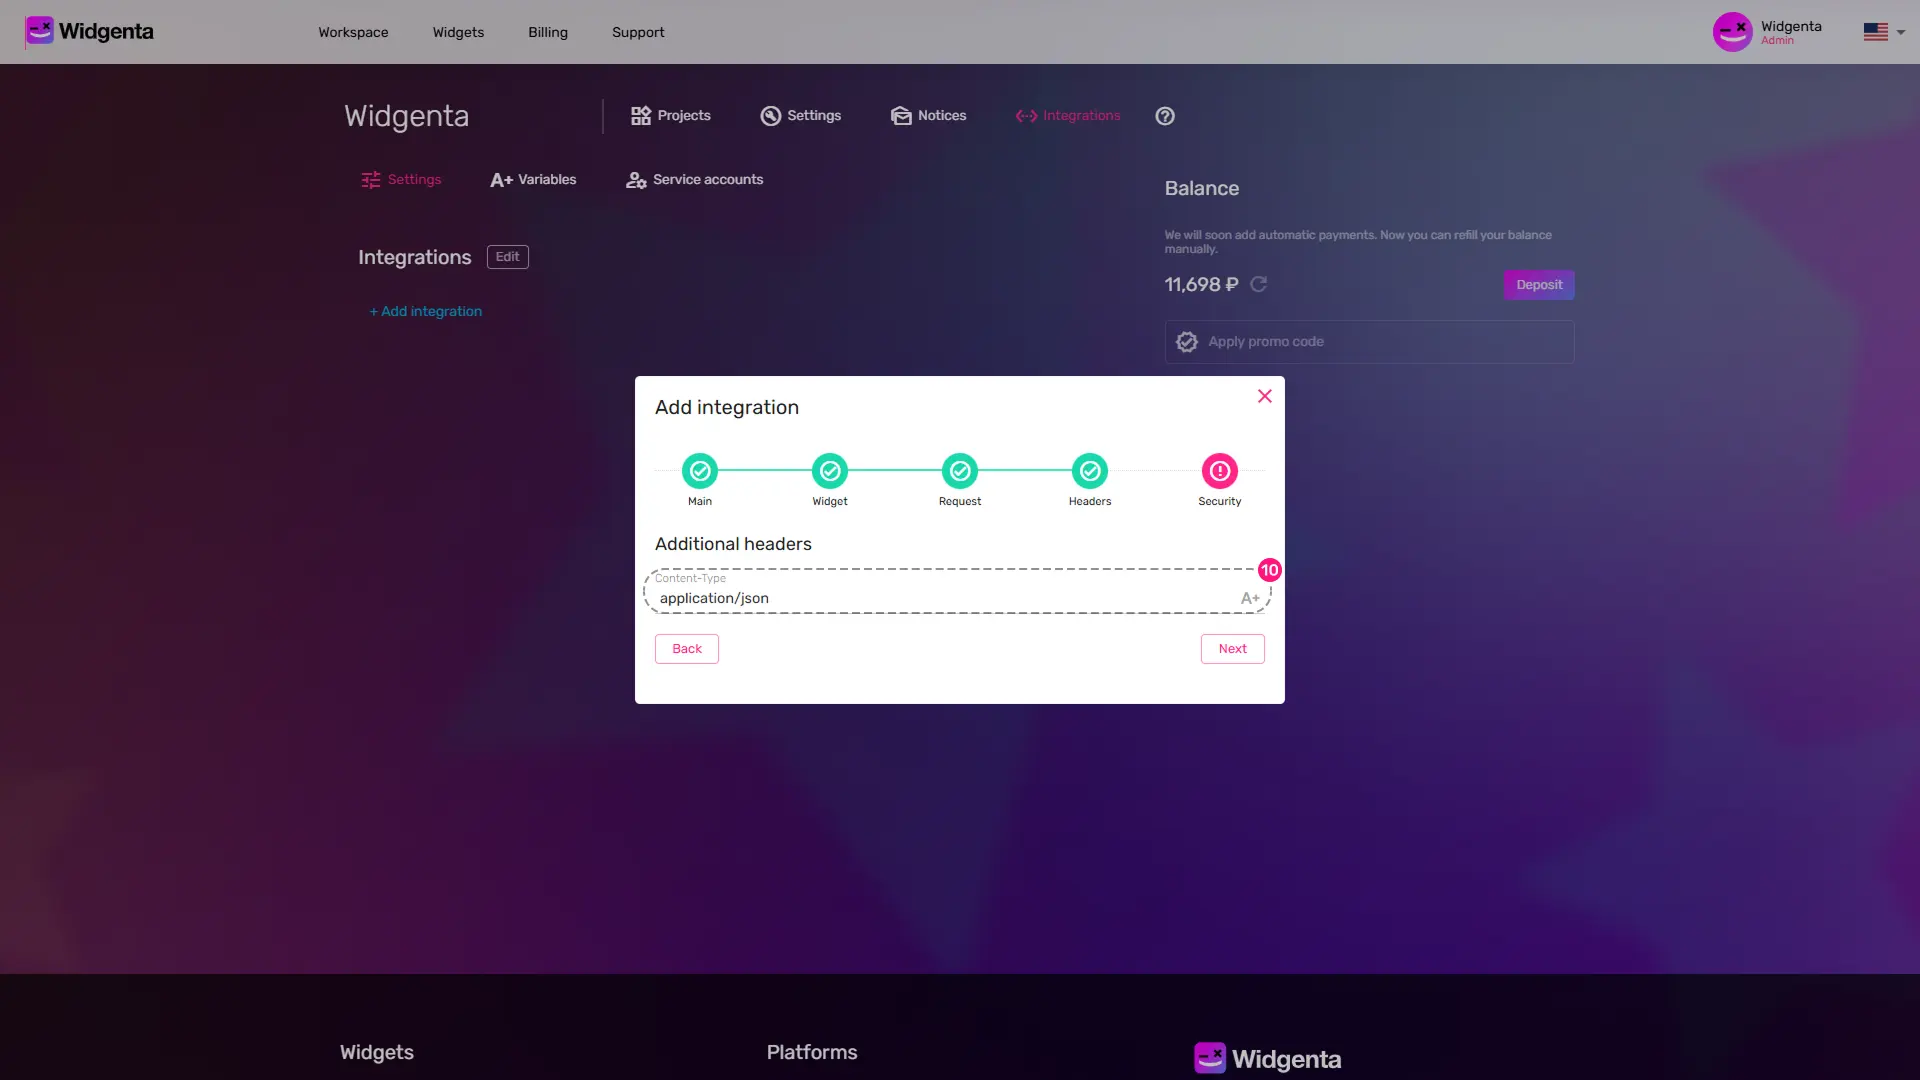
- Set the webhook header, by default
application/json
Click the «Next» button

- If your webhook endpoint requires authentication, select one of the following options:
- HTTP Basic - login and password
- Custom header - set your fields for request authentication
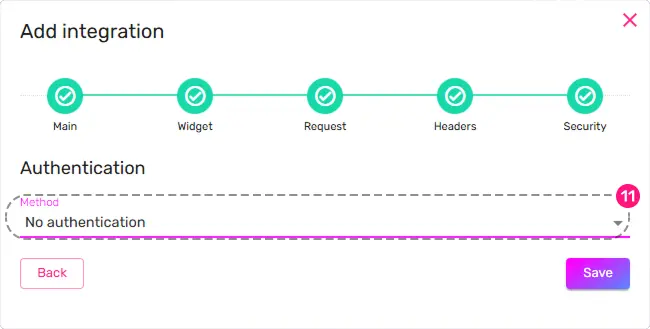
Click «Save» to complete setup
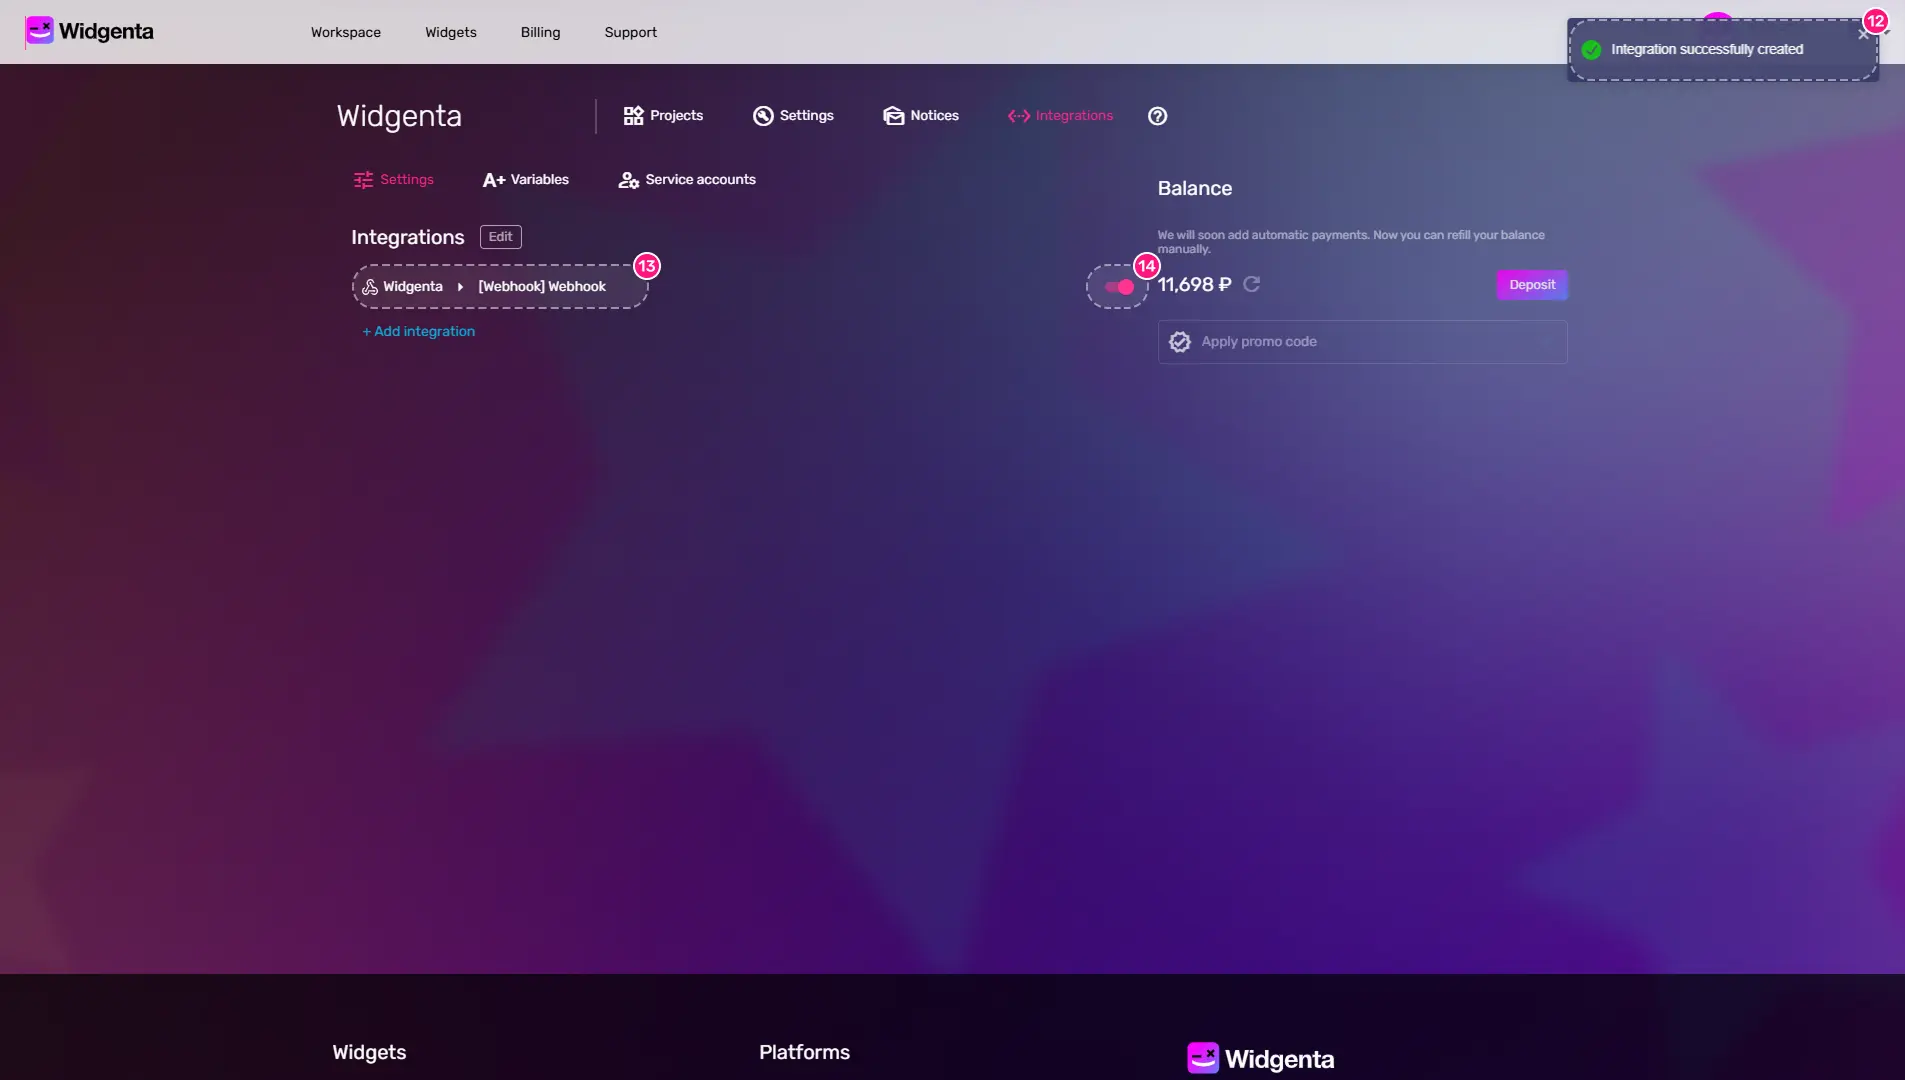
- You will receive a notification in your personal account about the successful completion of the widget integration with the webhook.
- The new integration will appear in your list of active integrations
- You can quickly turn off and turn back on the webhook integration using the switch
2/12/26