Workspace and its settings
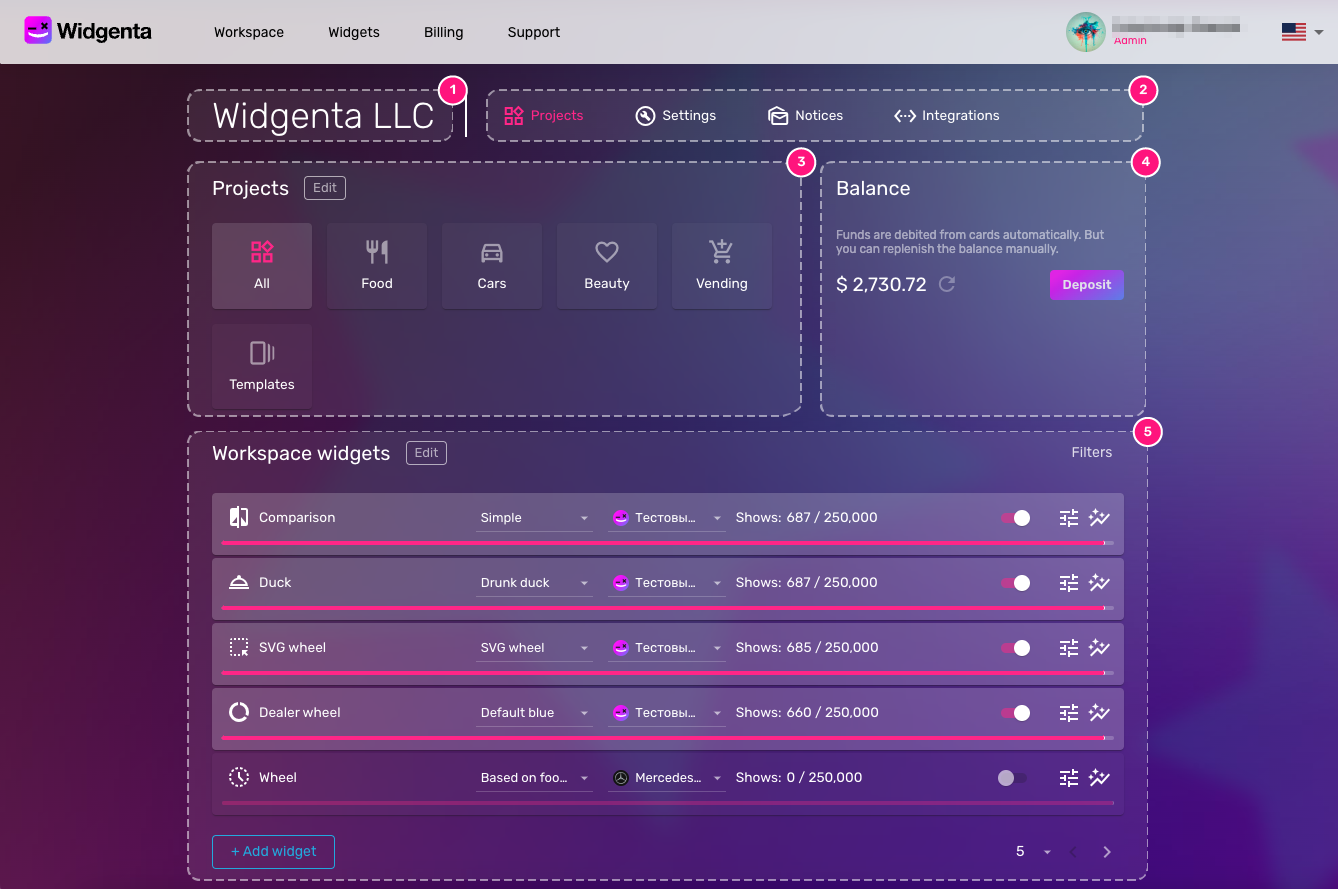
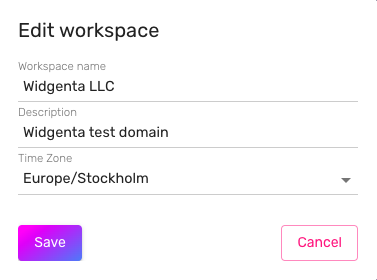
- Name — the name of your workspace set by the owner during registration. By clicking on it you can edit the basic settings of your workspace:
- Settings sections — tabs containing the corresponding sections: Projects, Settings, Notifications, Integrations.
- Projects — elements for grouping widgets.
- Balance — this area displays the current status of your account and a button to refill your balance.
- Widgets — table, which displays all widgets of your workspace, or widgets for the selected project.
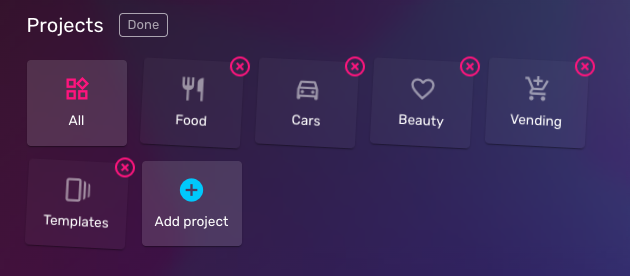
Projects — an additional way to organize and filter widgets. Projects allow you to group widgets according to the principle of your choice - it can be grouped by widget theme, by type, by site, by marketing campaign or by any other purpose.
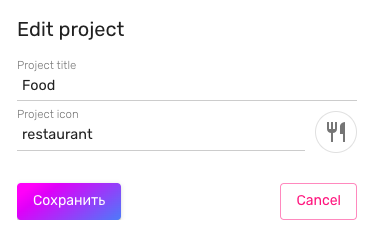
In edit mode, you can give a project a name and icon or delete a project.
To add a widget to a project, enable widget editing mode, click the edit icon and point the widget to the associated project.
Deleting a project does not entail deleting the associated widgets.

- Title — the name specified when creating the widget. Used only in workspace to organize existing widgets. Can be changed in edit mode.
- Configuration — you can create an unlimited number of configurations for the widget and use this selector to specify which of them the widget should be displayed on your site.
- Site — site to place the widget on. You can place your widget code on one or several sites specified in your workspace settings, and use this selector to specify on which site the widget will be shown. One widget can be shown only on one site at a time.
- Activation — this setting is responsible for activating and deactivating the widget. A deactivated widget does not consume shows, as it stops loading on your site. Important: deactivating the widget does not disable the spending period if the tariff includes a period for the realization of shows.
- Settings — switch to the widget constructor in the current configuration.
- Statistics — navigate to widget statistics and view leads for lead generating widgets.
- States — each widget can be in active, inactive and progressive states. The transparency of the widget bar indicates the activation state: in the active state the widget bar has a brighter color. The activation/deactivation process is represented by a moving striped background.
- Edit mode — in edit mode you can manage widgets at a lower level: change the name, specify project affiliation, assign an icon or delete a widget.

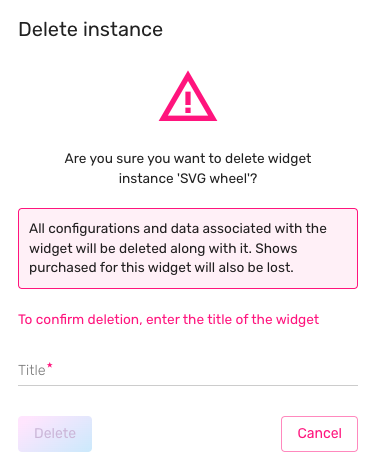 Important: deleting a widget will also delete all its configurations and lose unrealized shows.
 - Filters — allow you to filter the list of widgets by widget type and by placement site. Filters take into account the selected project.
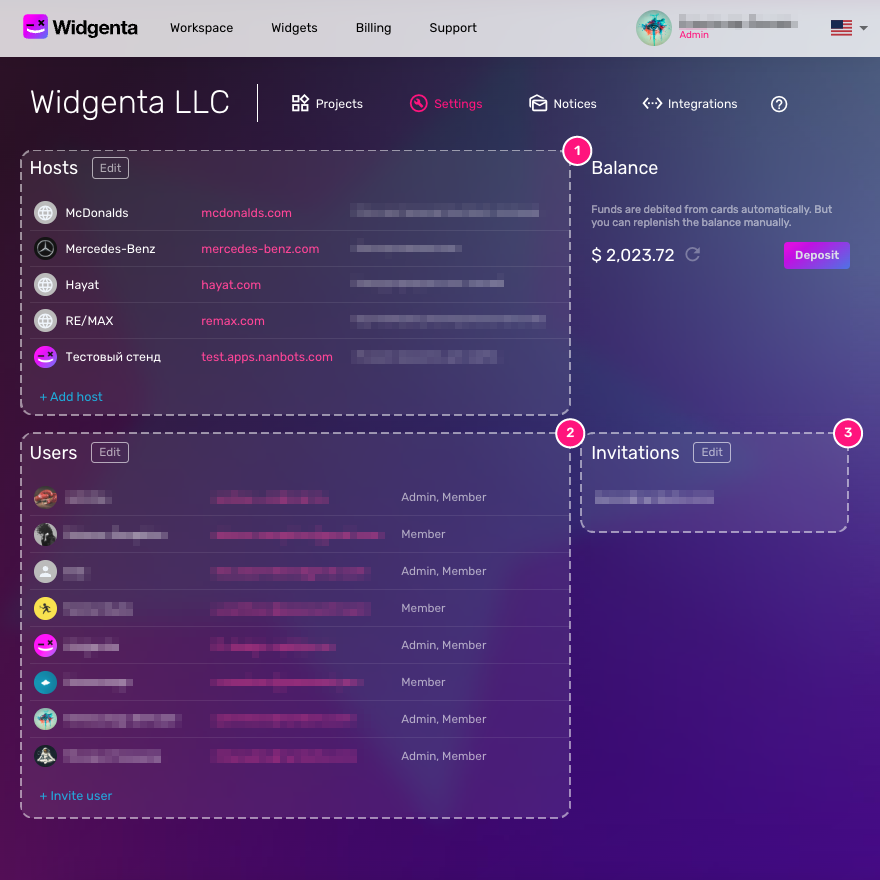
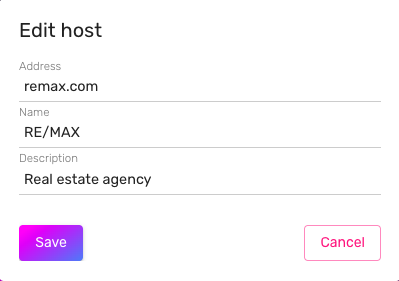
- Sites — this section adds sites to the system to host your widgets. After you have added a site, you can place the widget code on it, specify a site for the widget in the widget control panel and activate it. At the moment there are no restrictions on the number of added sites. By requiring you to specify on which sites your widget can be placed, we protect you from the possibility of placing the code of your widget on a third-party resource and twisting the displays by malicious users
When creating and in edit mode, in addition to the address for the site, the name and description can be specified
- Users — users who have access to workspace for collaborative work on widgets and advertising campaigns. You can add a user to the workspace by sending him an invitation to the mail. After accepting the invitation and registration, the user will be added to the workspace with the “Read Only” role. After that, if necessary, another role can be added to the user.
Available roles:
- Readonly — the user can view projects, widget list, sites
- Member — user can edit projects, widgets, site settings, add notification methods, view integrations
- Admin — the administrator has all available powers
The actions Remove User from Workspace and Temporarily Lock User are also available for the user record

- Invitations — this section displays all sent invitations awaiting confirmation. In edit mode, any of the invitations can be revoked if they have not yet been accepted by the invited user.
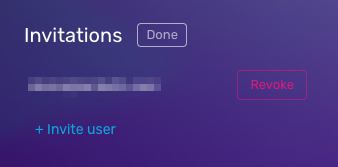
There is no limit to the number of workspace users. You can invite as many employees as you consider necessary.
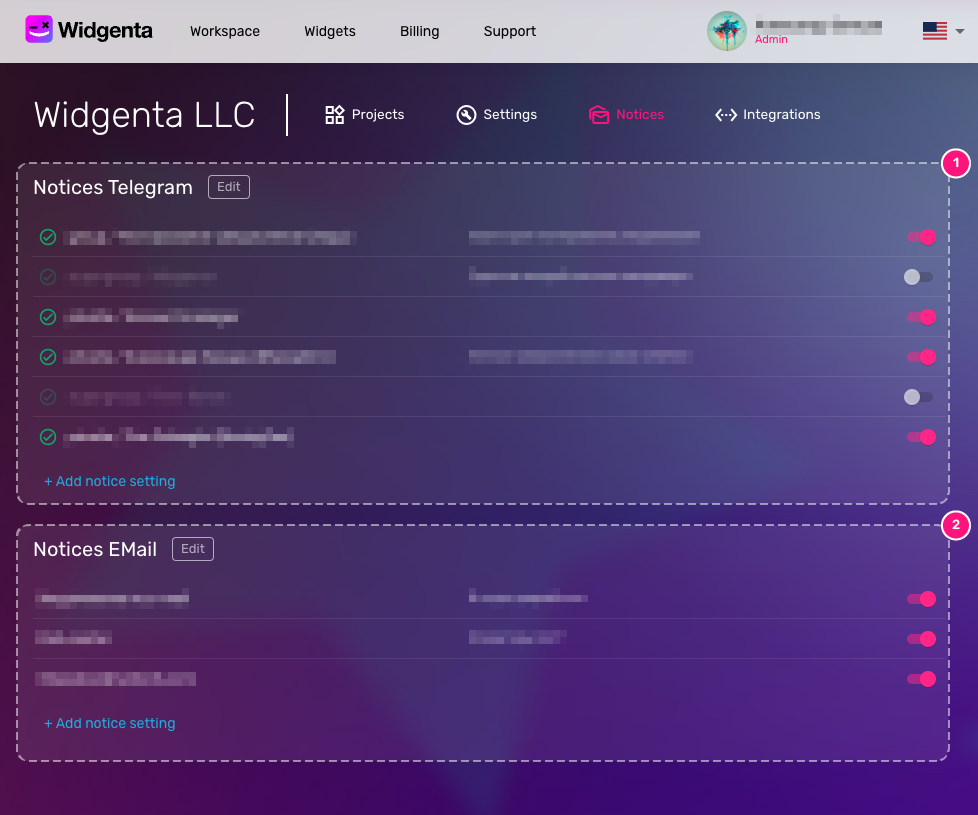
The created notification settings are used in system configurations of predominantly lead-generating widgets.
Any of the notification methods can be used in widget configurations as many times as you like and there is no limit to the number of ways you can add.
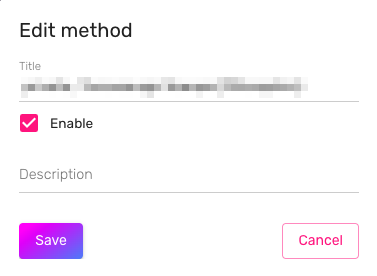
In edit mode, you can change the name and description of the notification method. The activated notification method can be temporarily deactivated with the corresponding flag.
- Telegram notifications — in this section you can set up notifications from the Widgenta bot to your group or private Telegram messages. When you add a notification method, you will be shown a window with instructions on how to connect the Widgenta bot.
If you have canceled the connection to the bot, an entry will still be created and can be activated later or deleted.
When you create a notification method, the name is automatically set based on the channel you are linking to and can be changed in edit mode.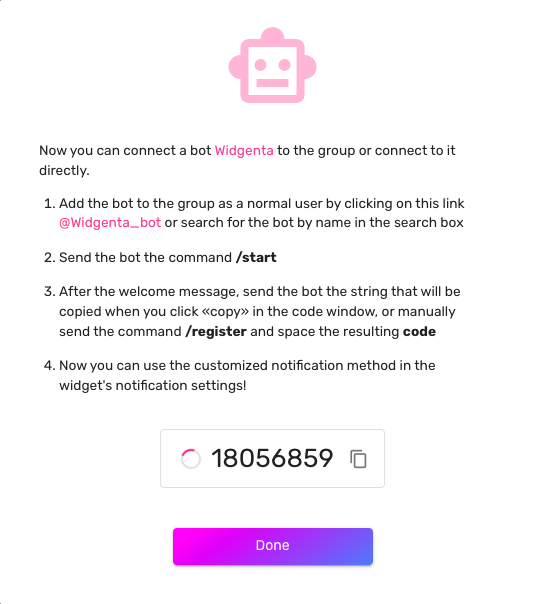
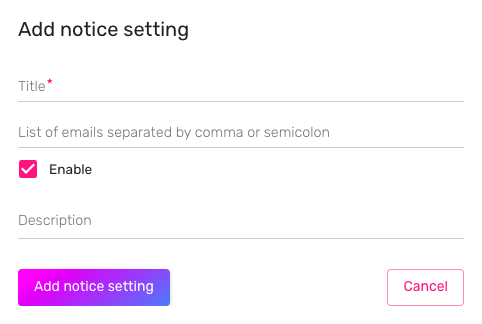
- Email notifications — notification method via email. When creating a notification method, you can specify either a single address or a list of recipients via semicolon ( ; ). Other interactions with the record are similar to those for the Telegram notification method.
Important: If you remove the notification method, all widgets that have this notification method in their configuration will stop using it.